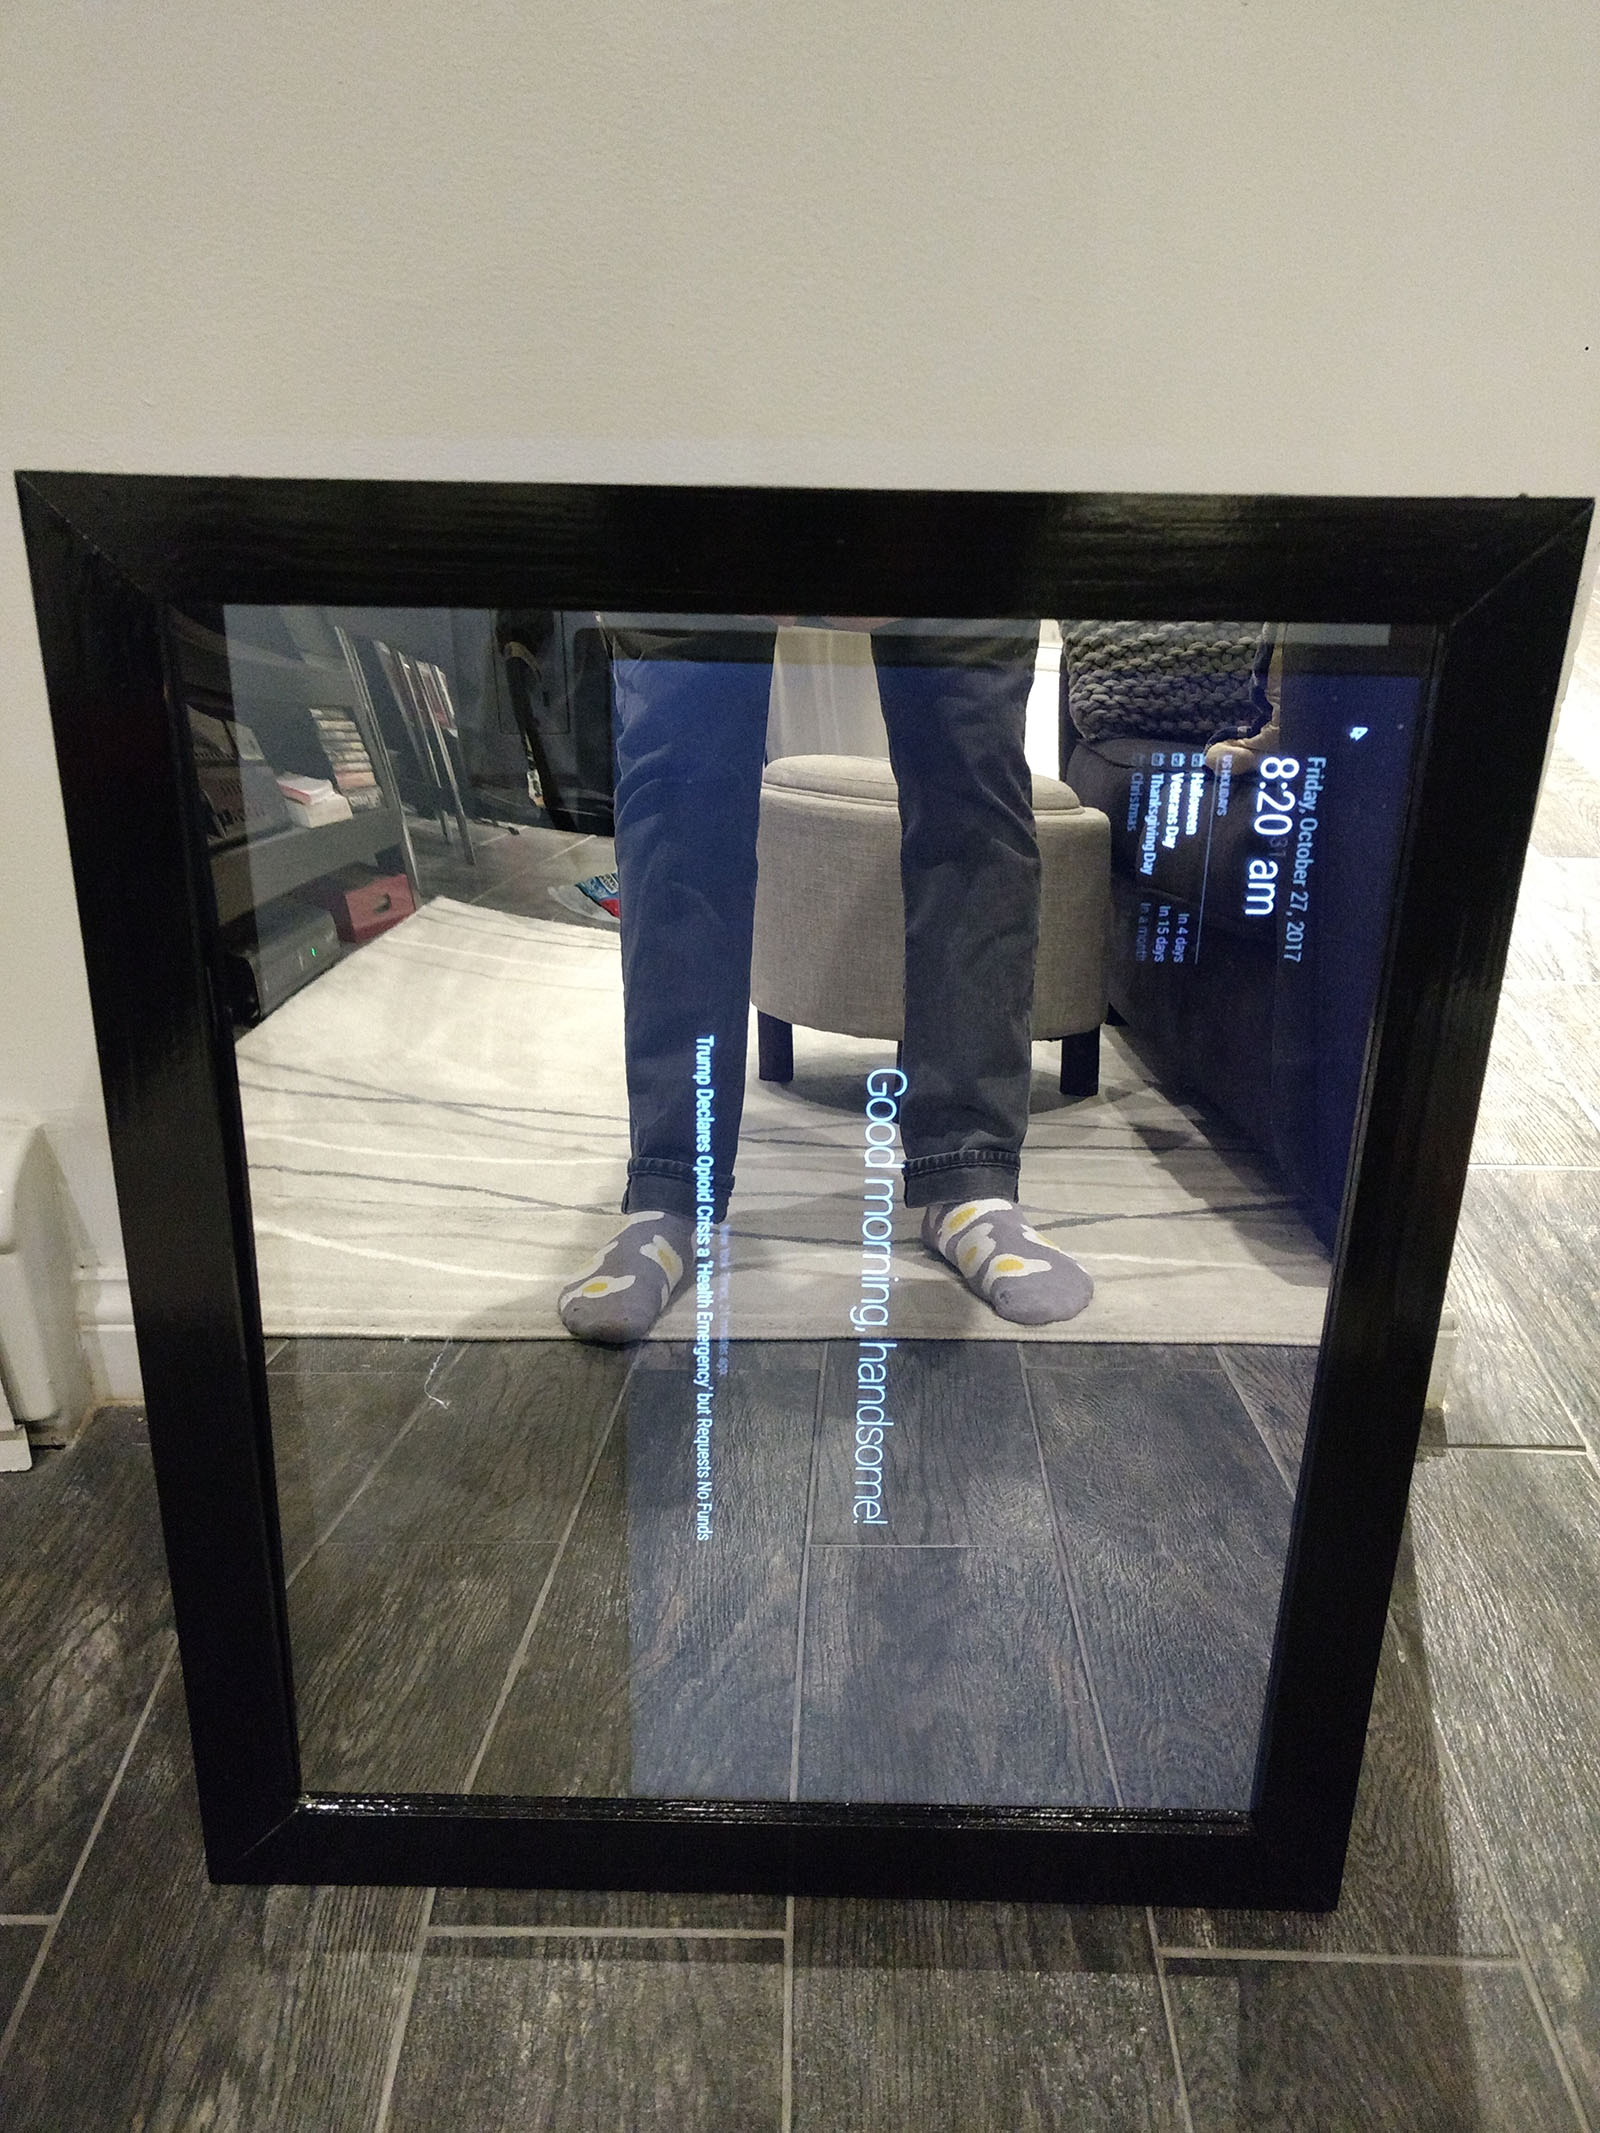
Magic mirror on the wall
Nevermind the news, tell me how handsome I am...
I'm consistently late to work. It's usually due to my own poor time management and other variables, ie. delayed trains, trouble with surfer-looking unkempt hair looking not so kempt, digging through the laundry pile to find that one non-smelly shirt that has the least amount of holes and or wrinkles in it. Suffice it to say, I should probably look at my morning routine habits and start accounting for how much time it takes me to get ready - so I did. "But wait, Jon, I thought this post was going to be about Raspberry pis and how you built some cool electric mirror shit?" I know, I know, I'm getting there!!!
Here is the morning runlist:
-
7-7:15 AM - Wake up (this varies based on how many times I snooze my alarm)
7:20 AM - Morning poop (everybody poops)
7:28 AM - Morning Instagram catch-up (typically during the above step (don't act like I'm the only one who does this))
7:35 AM - Morning run (if time allows)
8:05 AM - Breakfast by way of a combination of half Special K Fruit n Yogurt edition and regular Special K
8:15 AM - Shower
8:20 AM - 8:50 AM - A combination of morning Spotify jams followed by numerous outfit trials and the Google Imaging of "(color pants) and (color shirt) outfit mens"
That plus the additional delays caused by the suckage of the New York Metropolitan Transit Authority equals me being late almost all the time. At some point in the above list of items, I do in fact waste a few minutes checking the weather, news, etc, on my phone. Time I could probably cut out of my normal routine and throw into commuting. "There must be a better way!" (Cue black and white infomercial cutscene with a stay-at-home mom trying to cut a tomato with a can opener)
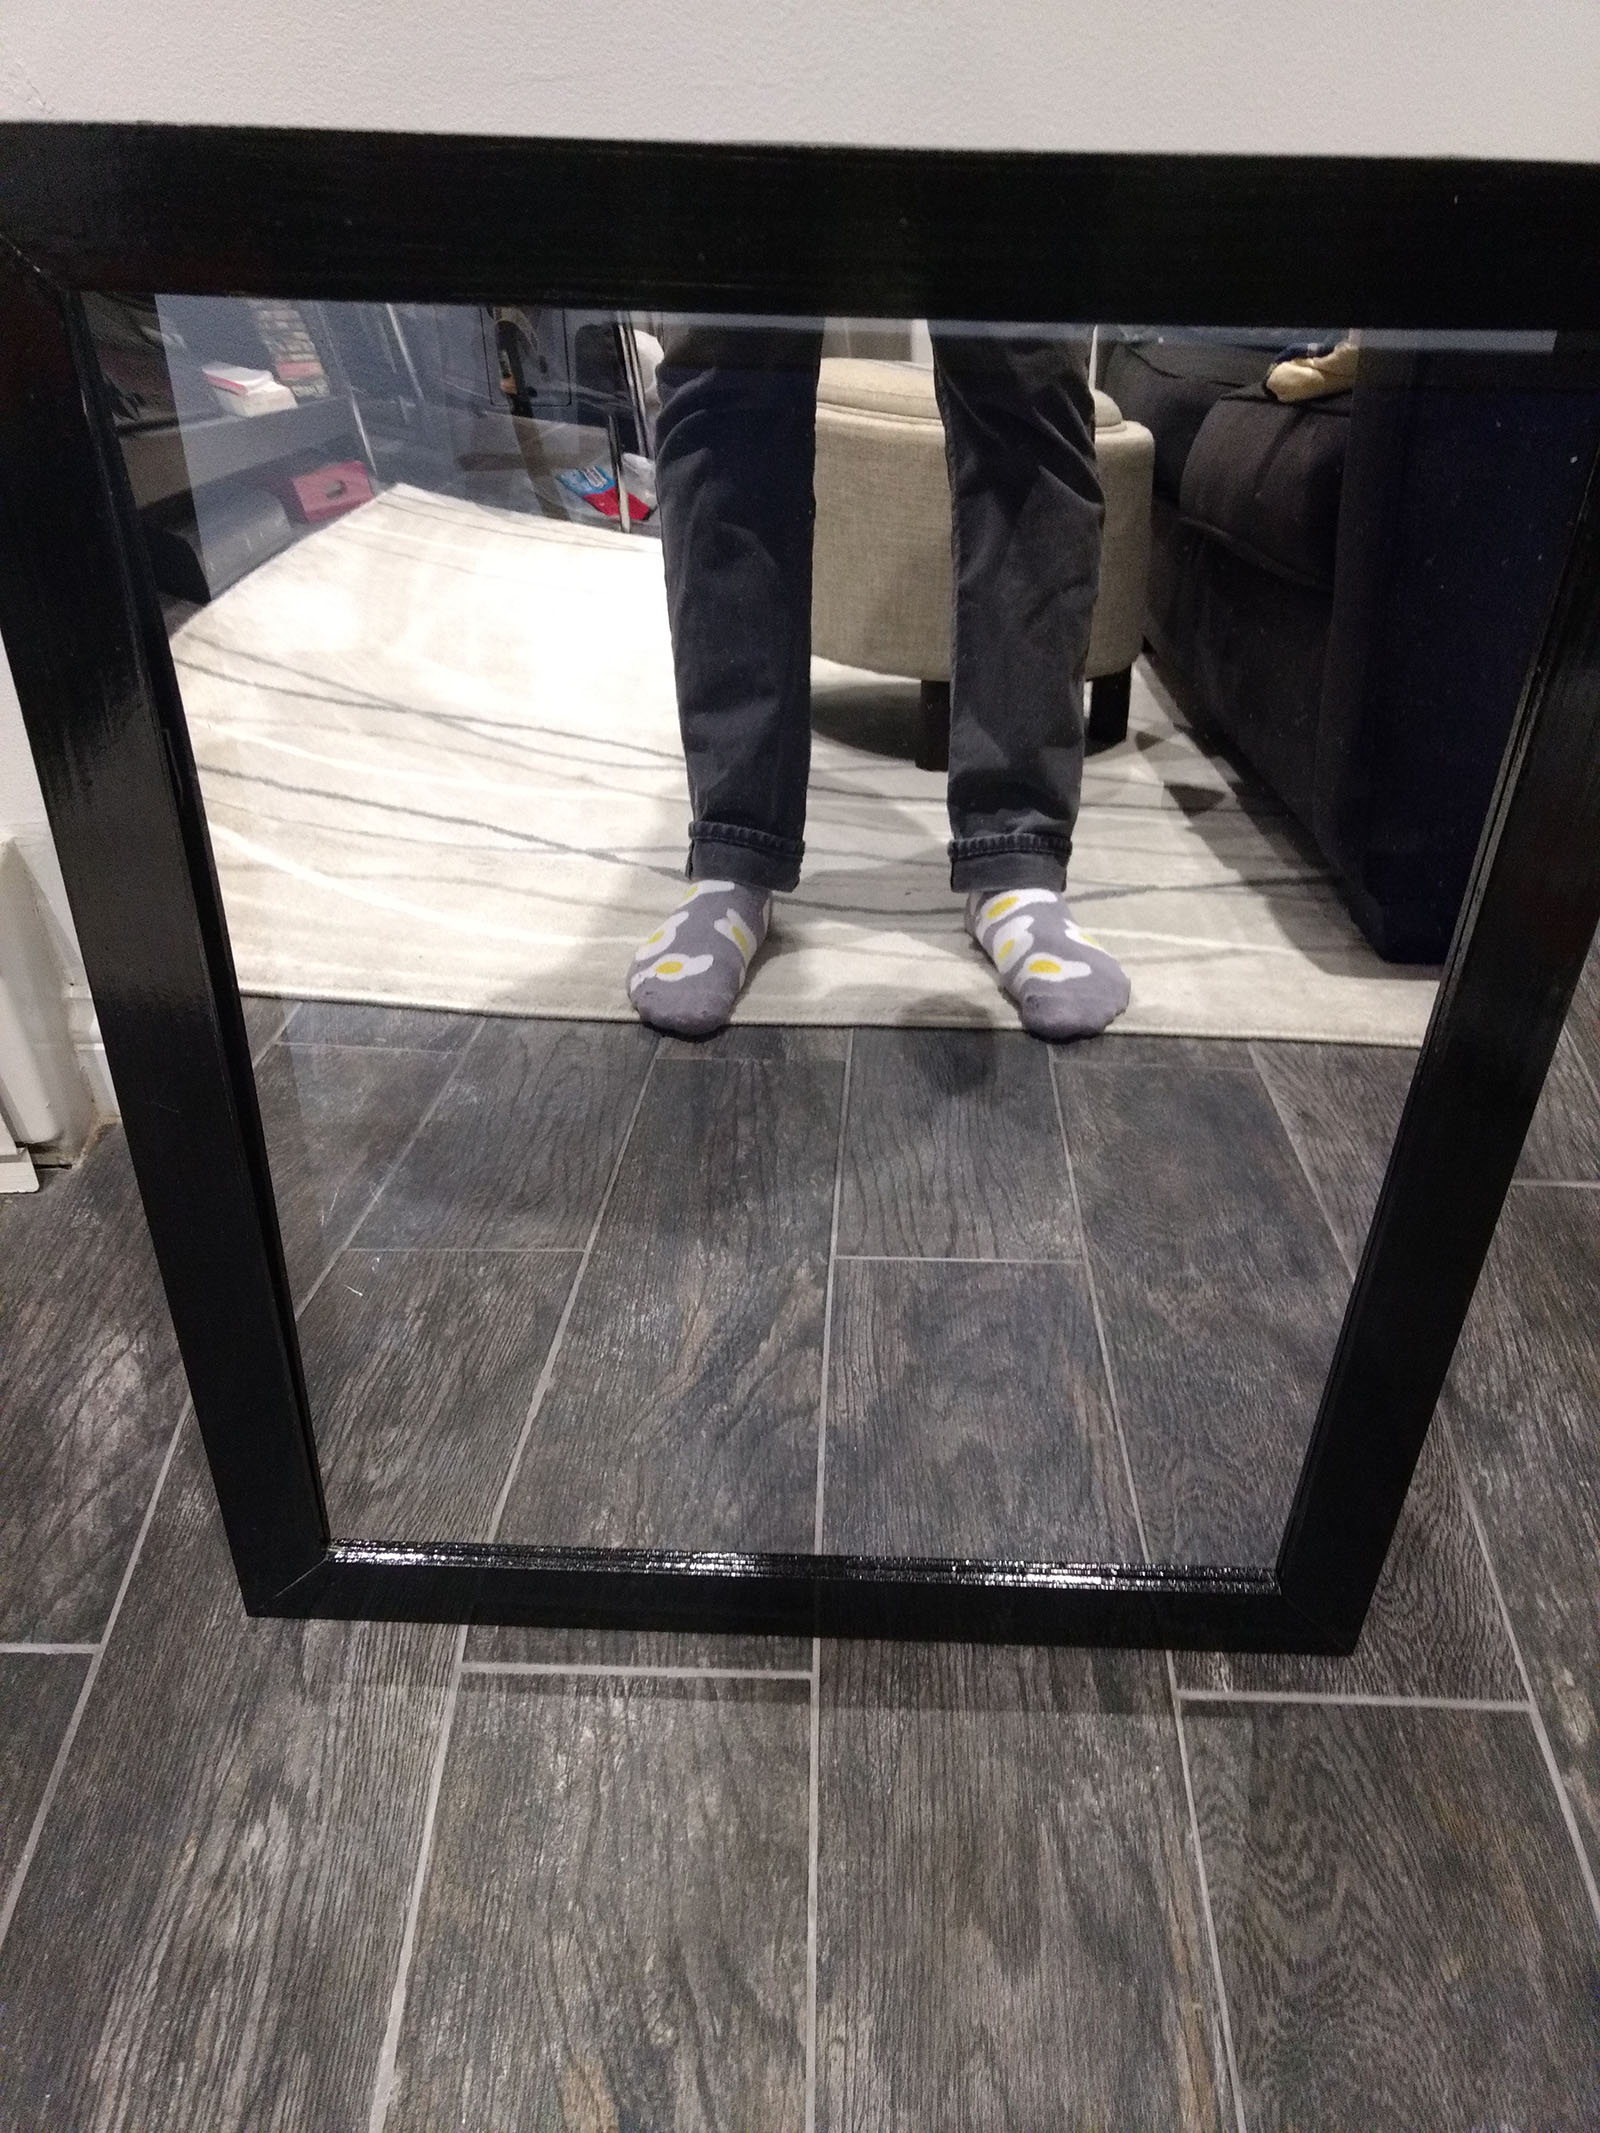
~Enter the magic mirror~
(cue cheerful music and color display)
I've tinkered with Raspberry Pis and Arduinos before so this project was certainly within my wheelhouse. However, my woodworking skills needed some sharpening, so building the frame around the mirror would prove to be the most challenging part. I started by visiting my local friendly hardware store and personal zombie apocalypse preparedness safe-haven, Home Depot. I purchased (4) 2x4 wood panels, selecting the ones with the least amount of wooden deformities and imperfections. I eventually would stain everything black and add on a clear coat, so any weird color imperfections would be unnoticeable. We'd also need the following:
-
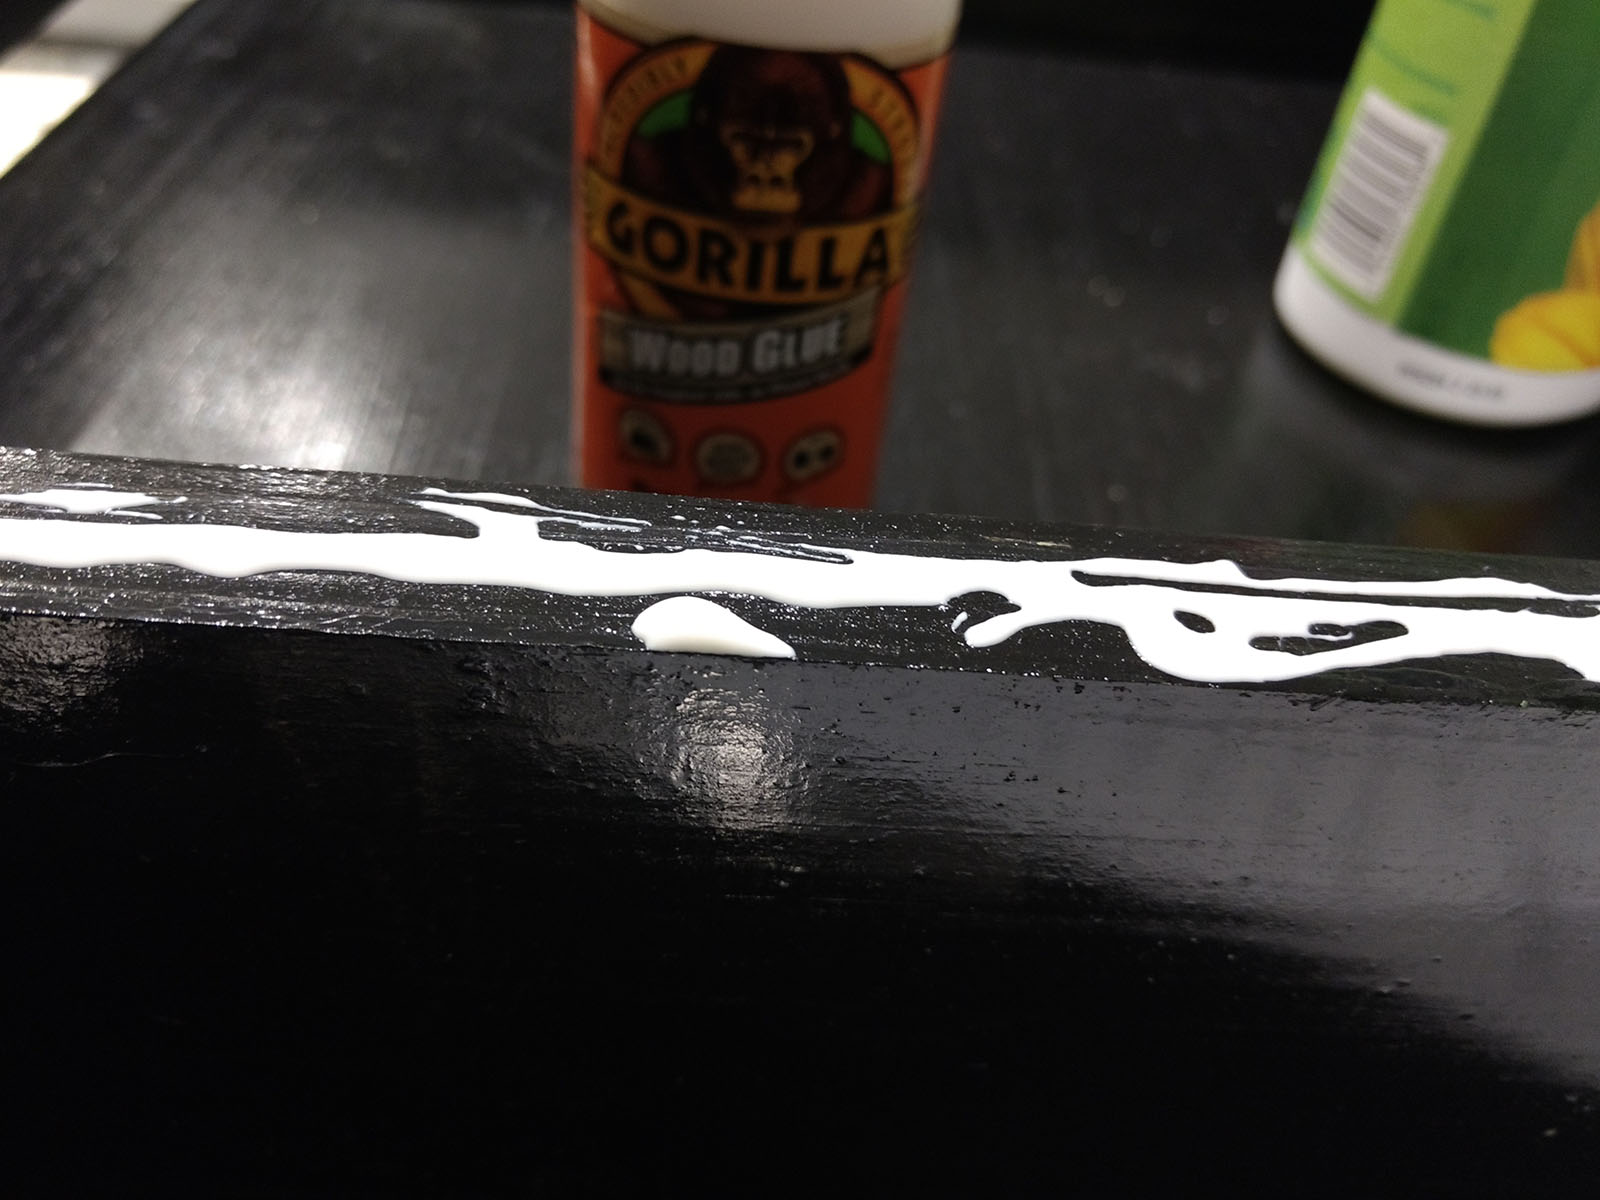
- Wood Glue ('Gorilla glue' brand recommended)
- Wood Screws (1" length or longer)
- Two way magic mirror (acrylic is cheaper)
- LCD monitor (same size or less than that of your two way mirror)
- Miter saw (optional, unless you get these precut at the 'Depot)
- Protractor or angle finder
- Elbow grease
- Double-sided sticky tape
- Raspberry Pi, Magic Mirror software/modules and accompanying 5v power supply (I used a Pi3)
- Y-cable power supply (for monitor and Pi)
- All ten digits before and after completing this project
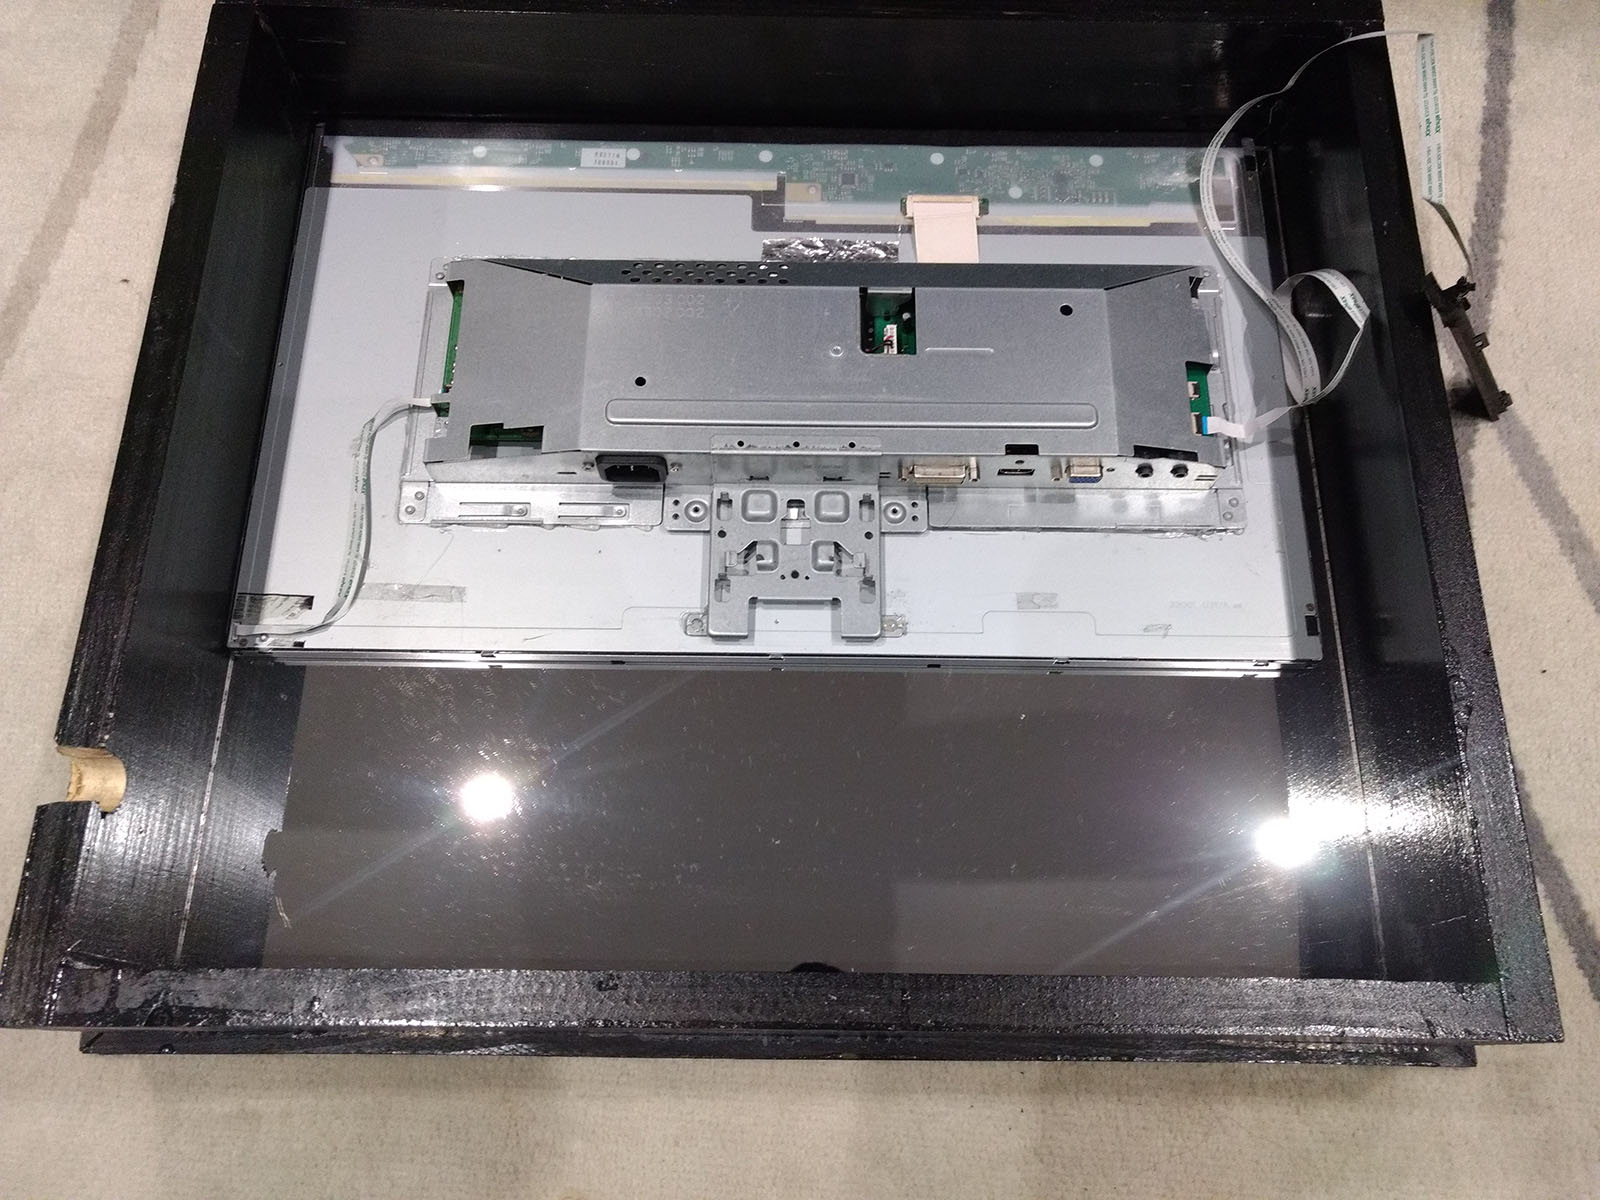
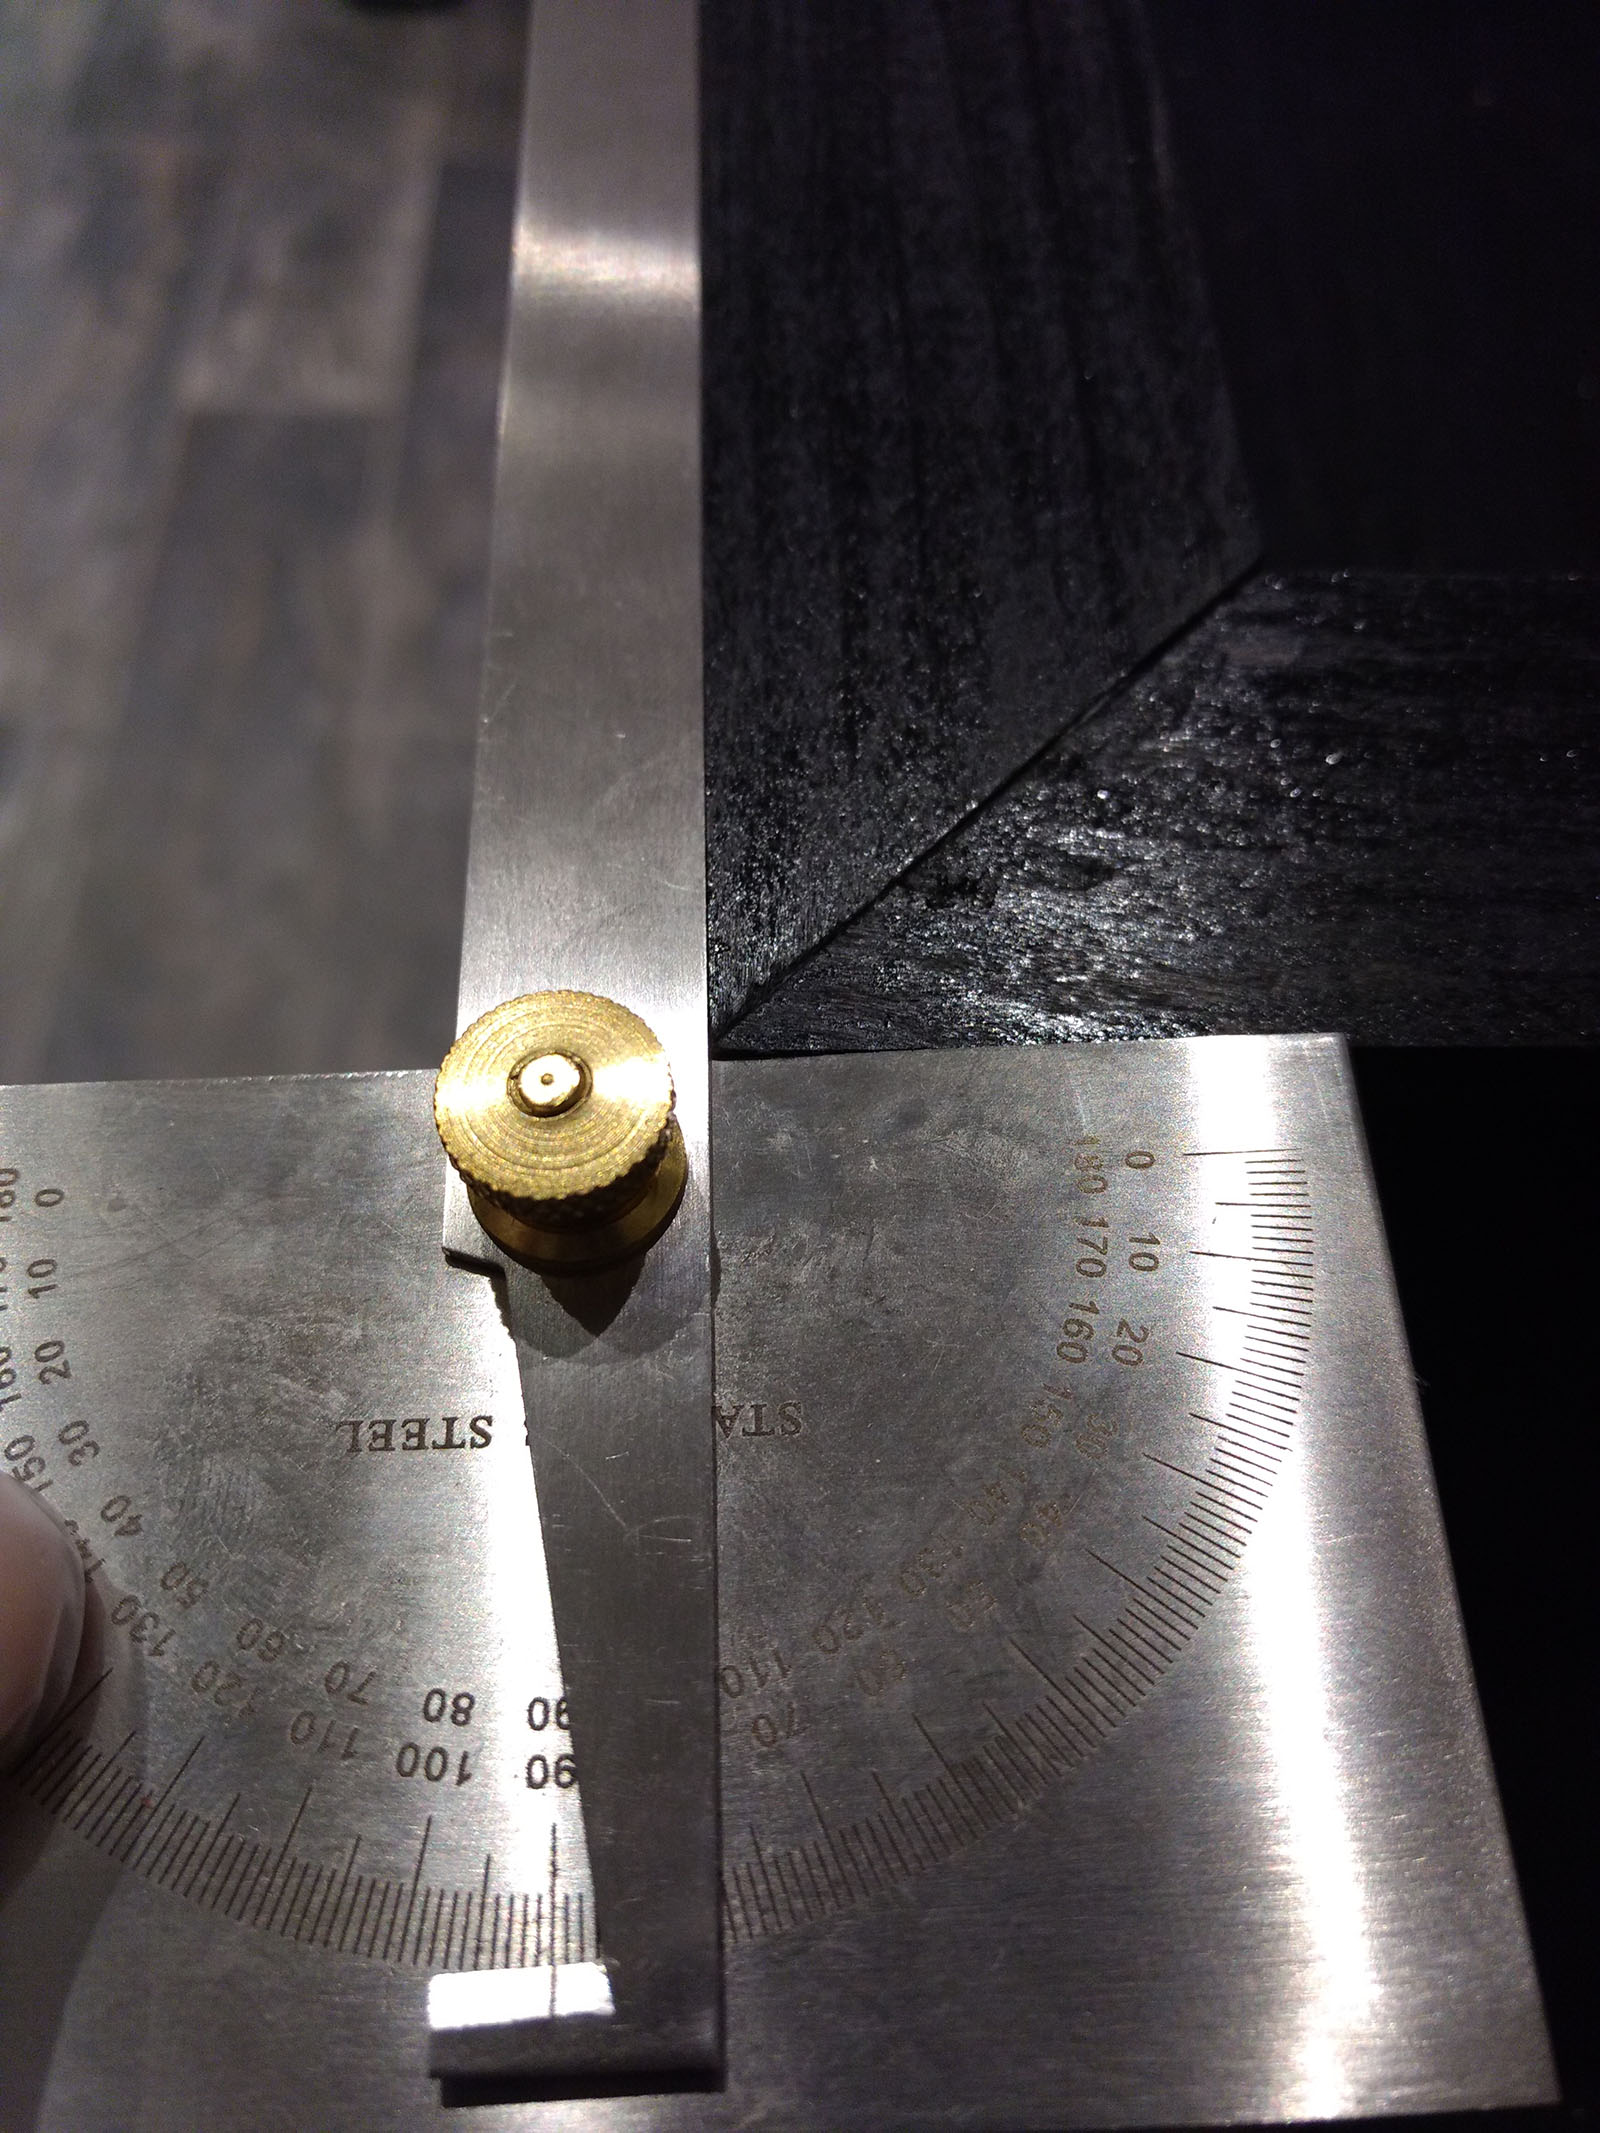
I started by chopping the wood in half and measuring 45 degree angle cuts with the miter saw. Before I could do this, I would need to measure the length and width of the wood around the mirror. I used a 23" monitor that I scrapped from the junkyard. Removed all the paneling and plastic frame around the screen and ended up with just the screen, its power supply, and the accompanying power/display buttons.

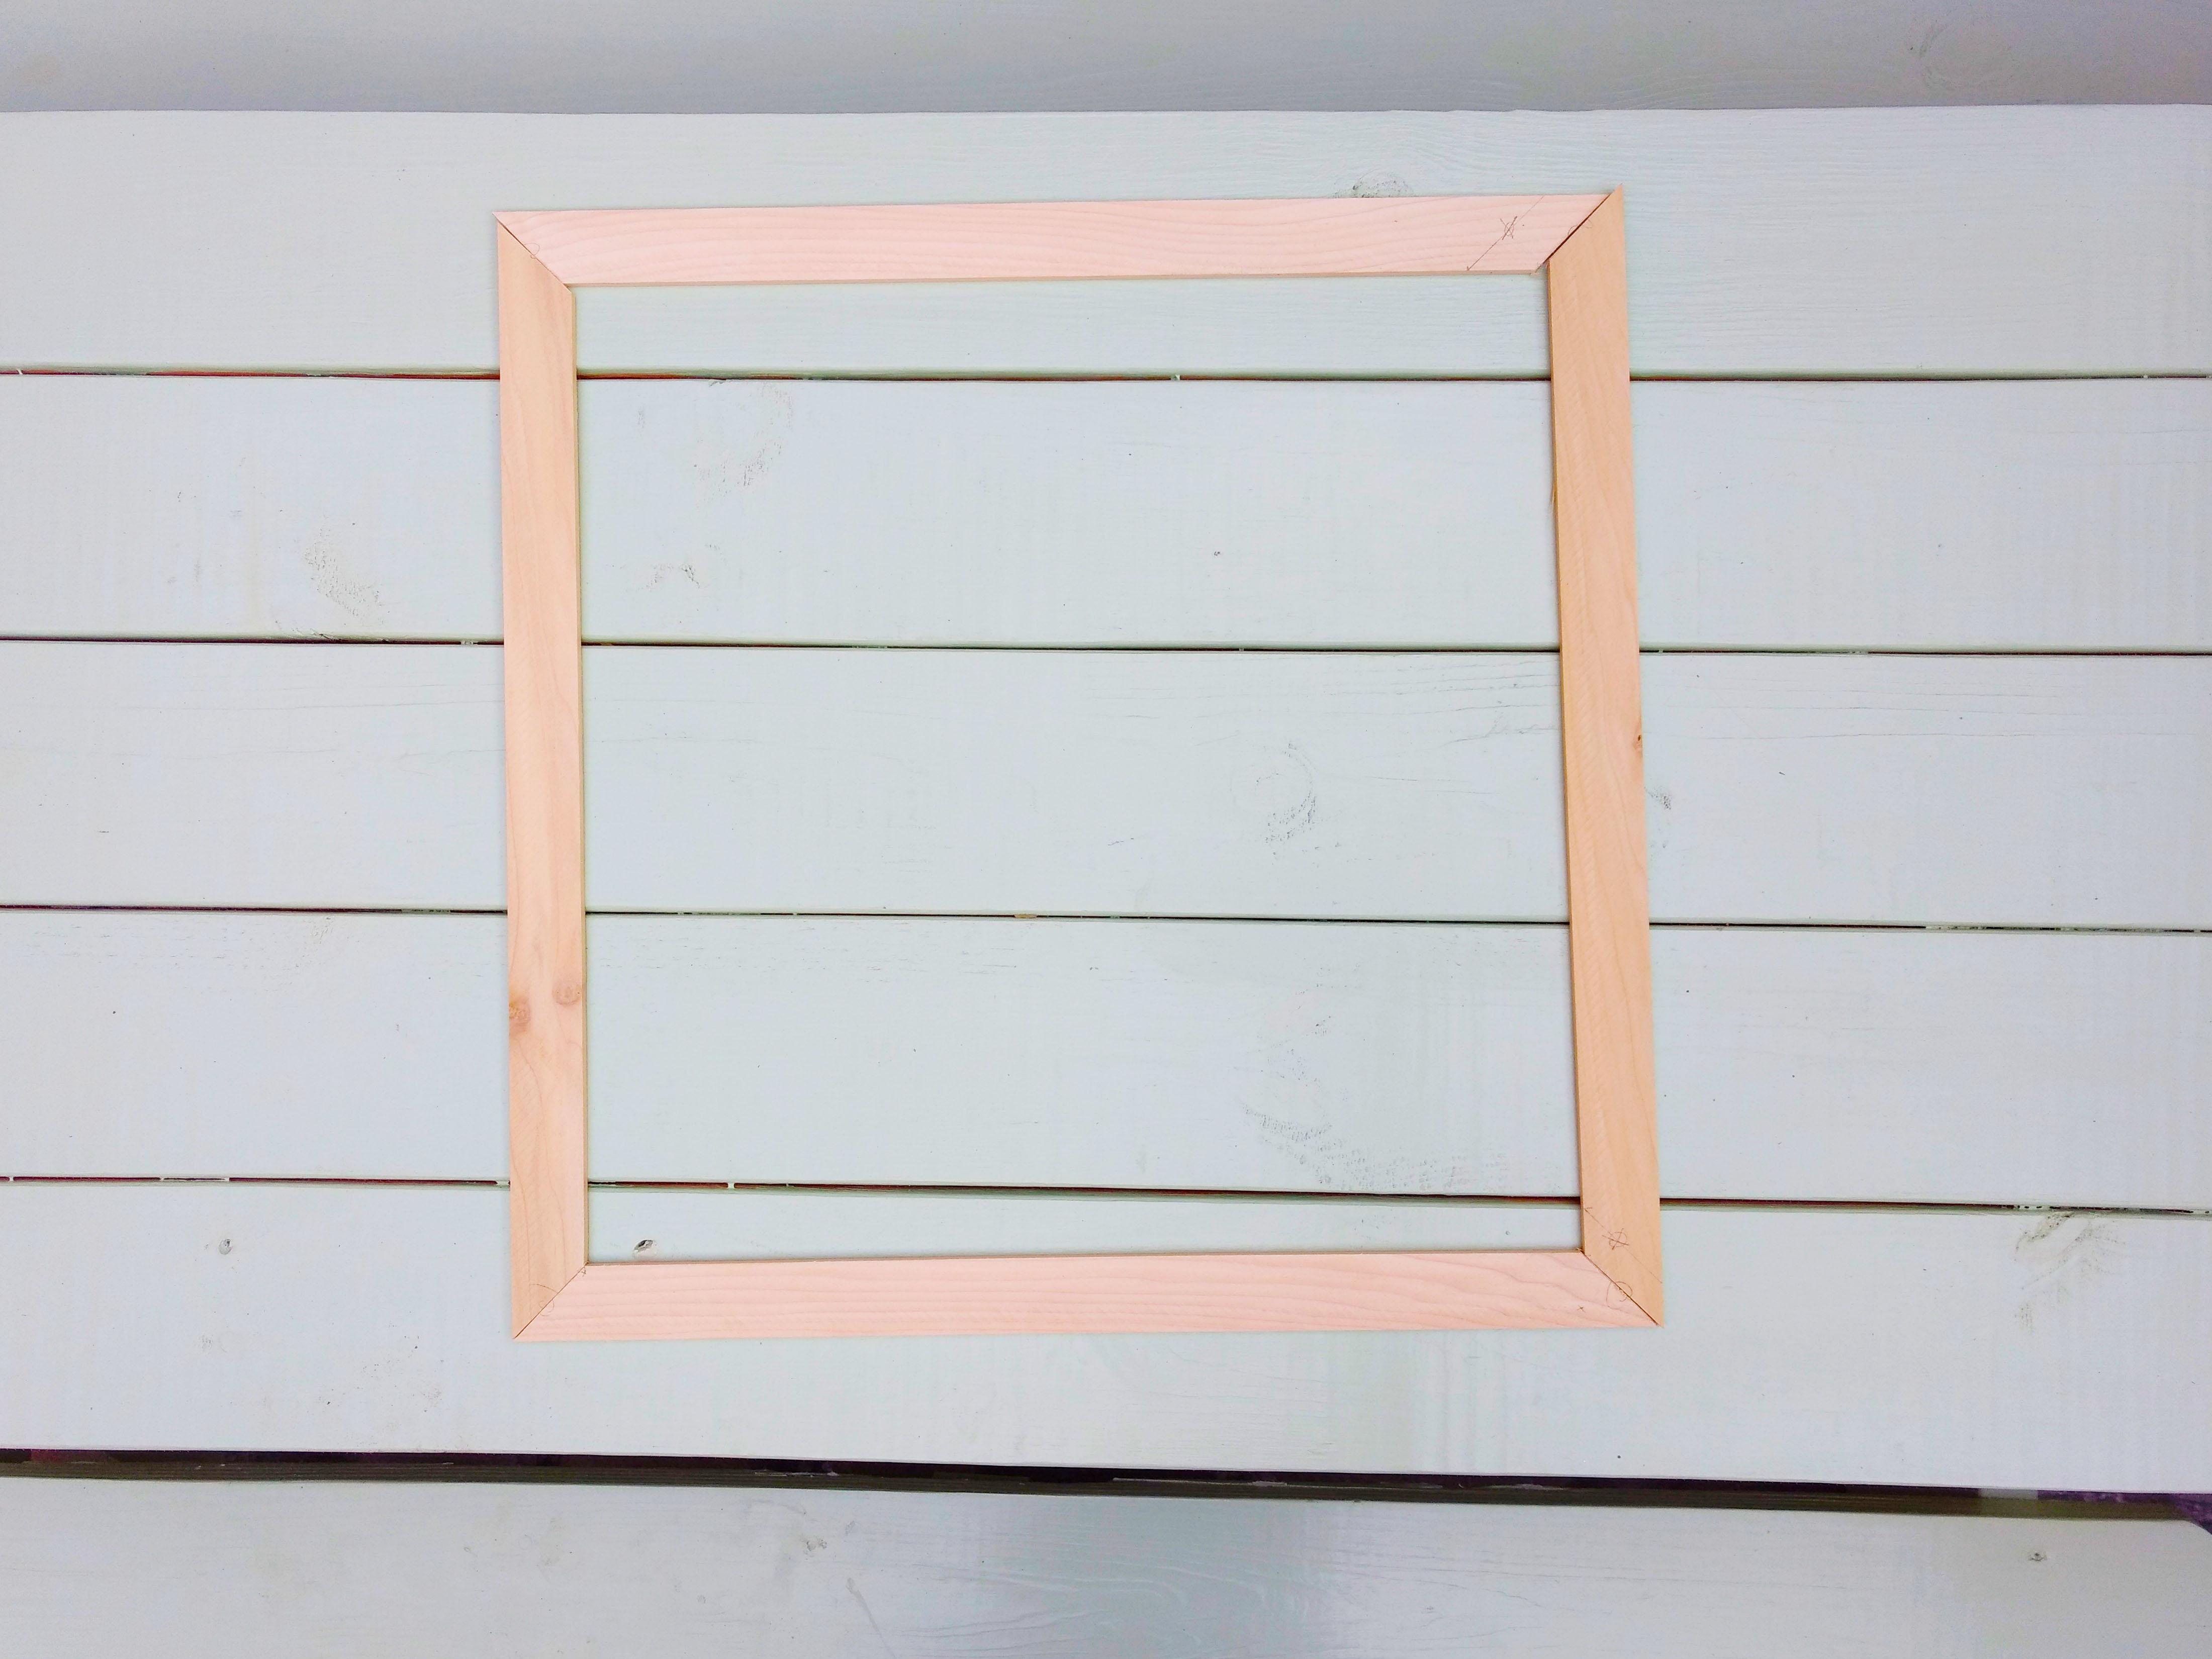
Next, I had to do some fine tuning on the pieces of wood. Also, I realized that I would have nothing keeping the mirror and monitor from falling out of the front of the wooden frame. I went back to the 'Depot and picked up some super long 1" thin cuts of wood. These new pieces of wood would be cut at a 45 degree angle and serve as the new frame to go over the front of the original wooden frame. After measuring it 184 times, and cutting it twice, I now had all the required lengths and pieces assembled.
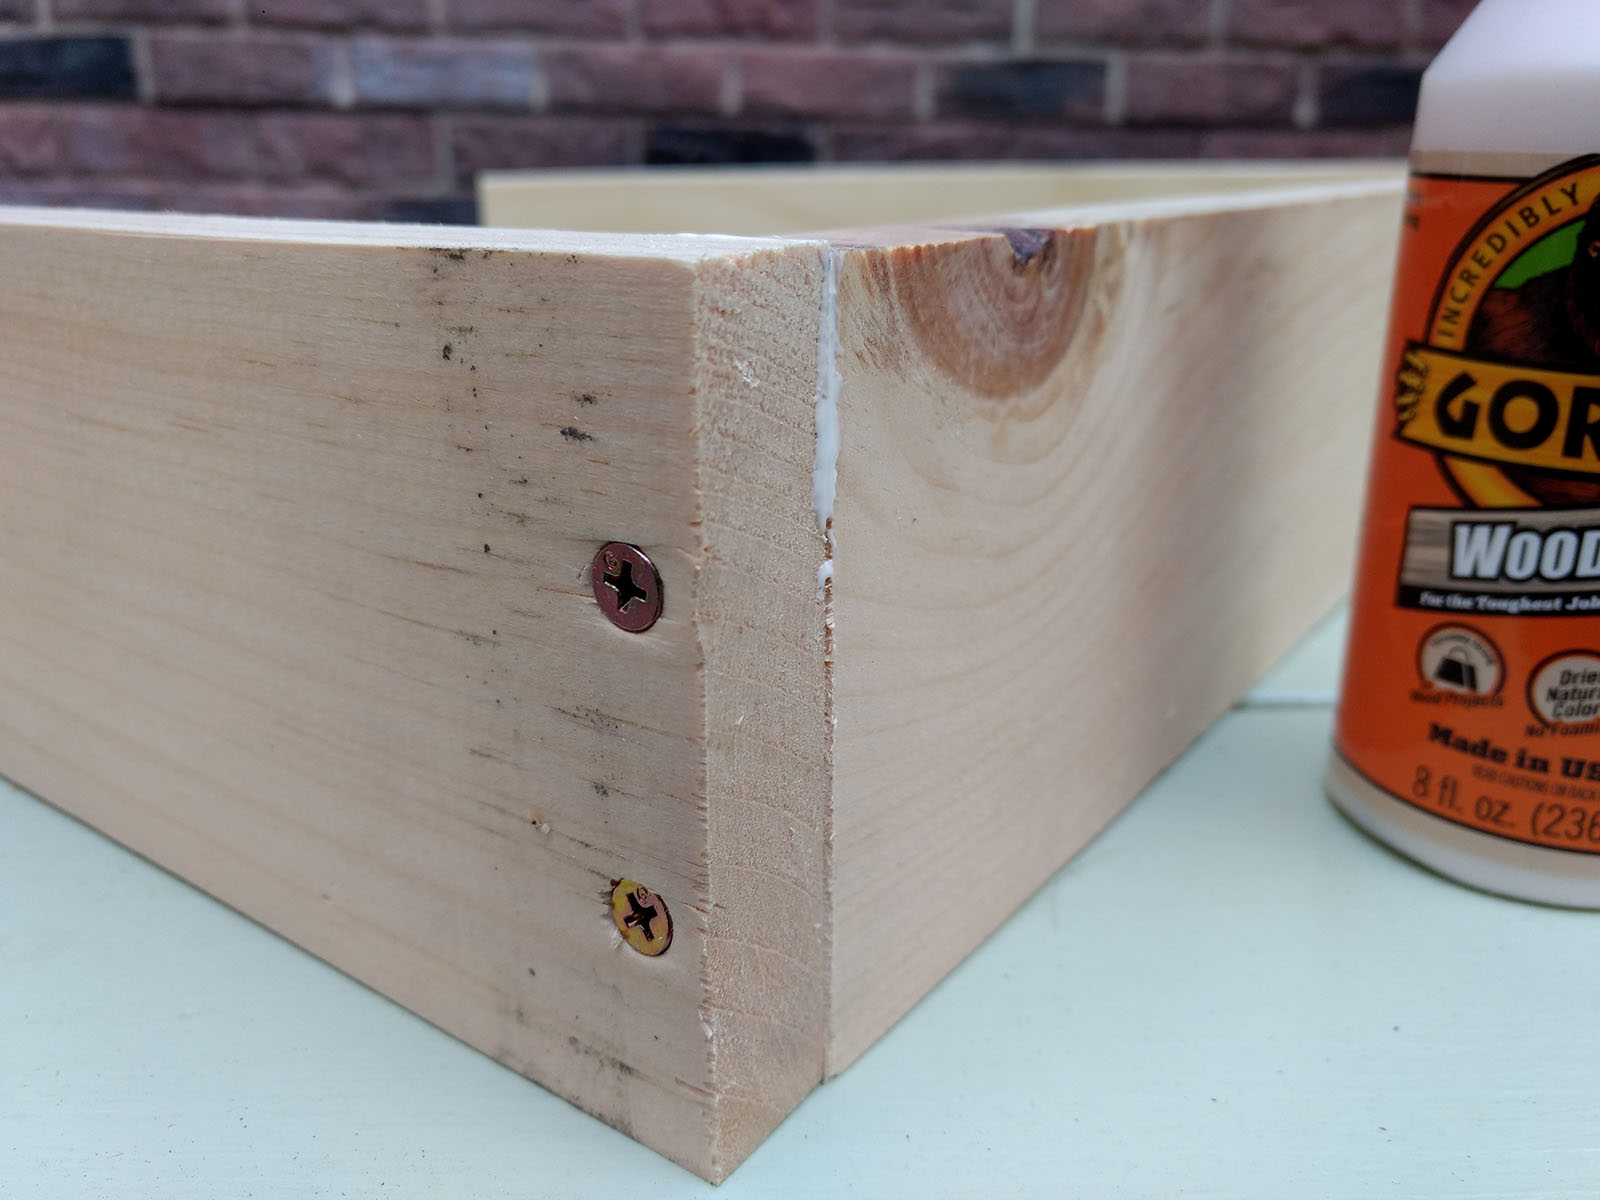
Two screws per corner... and now we paint.
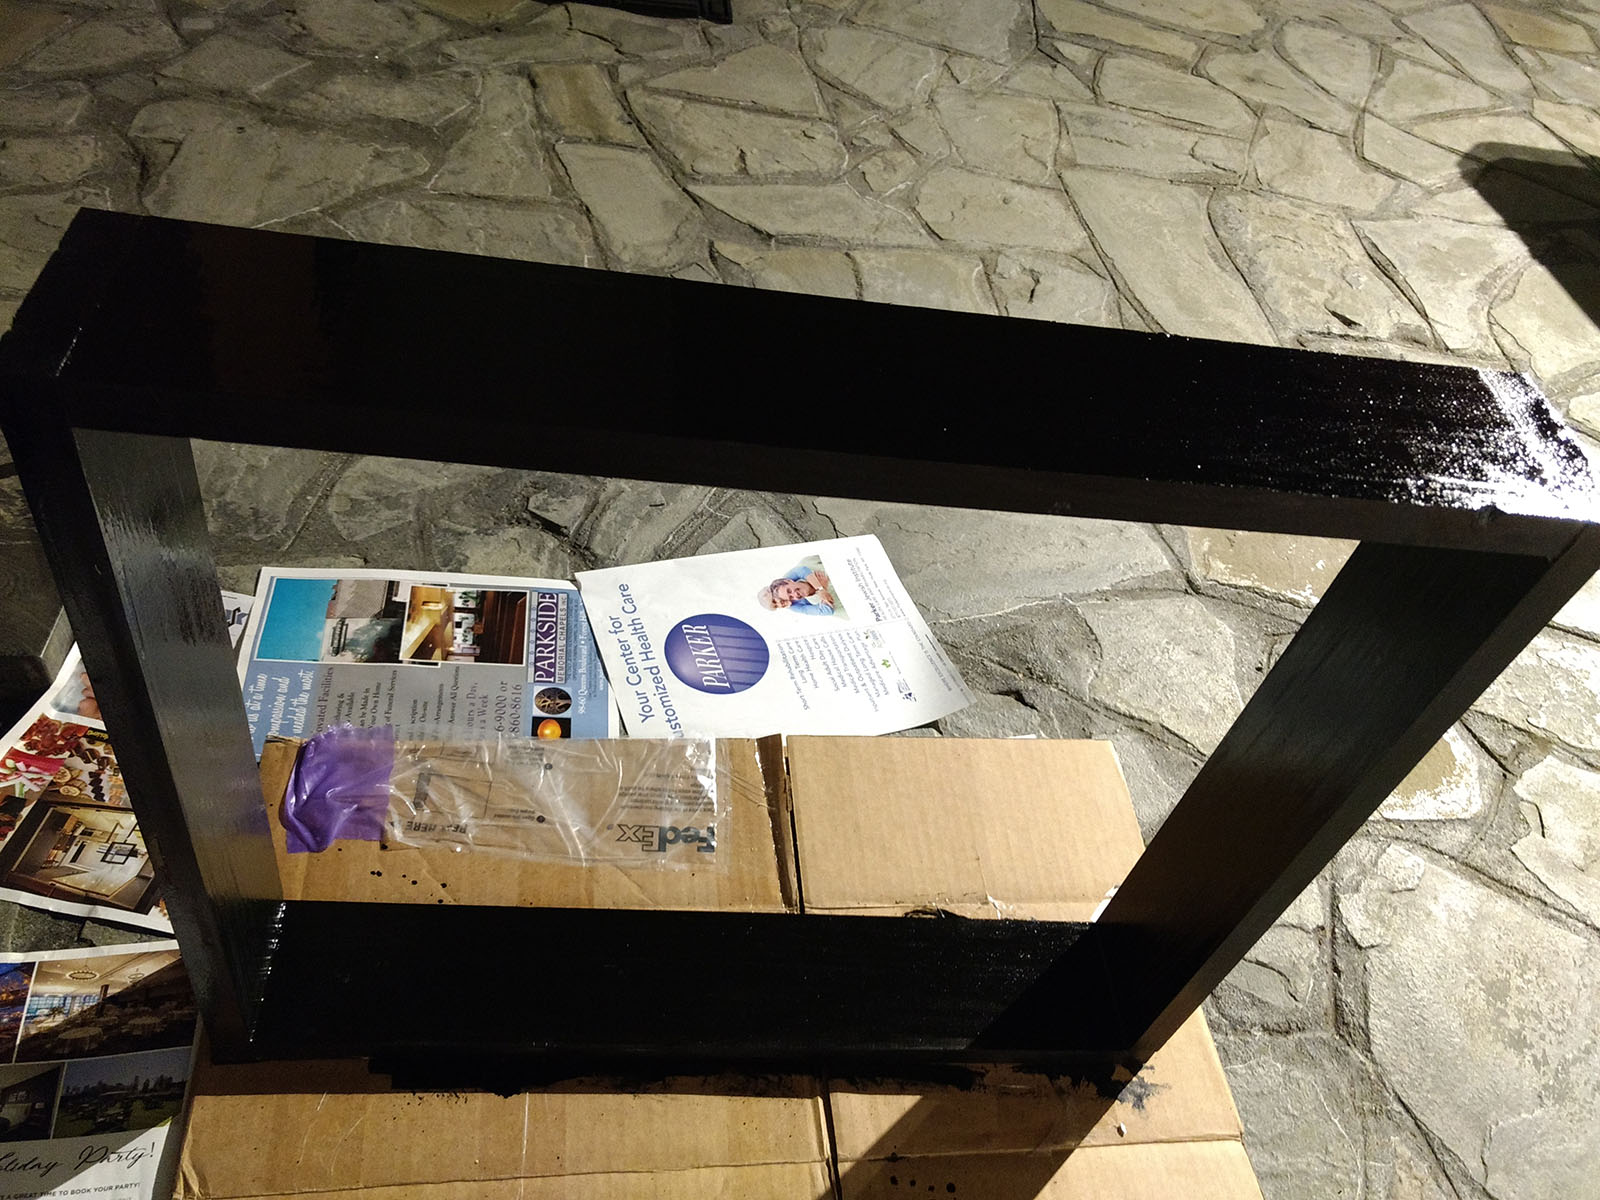
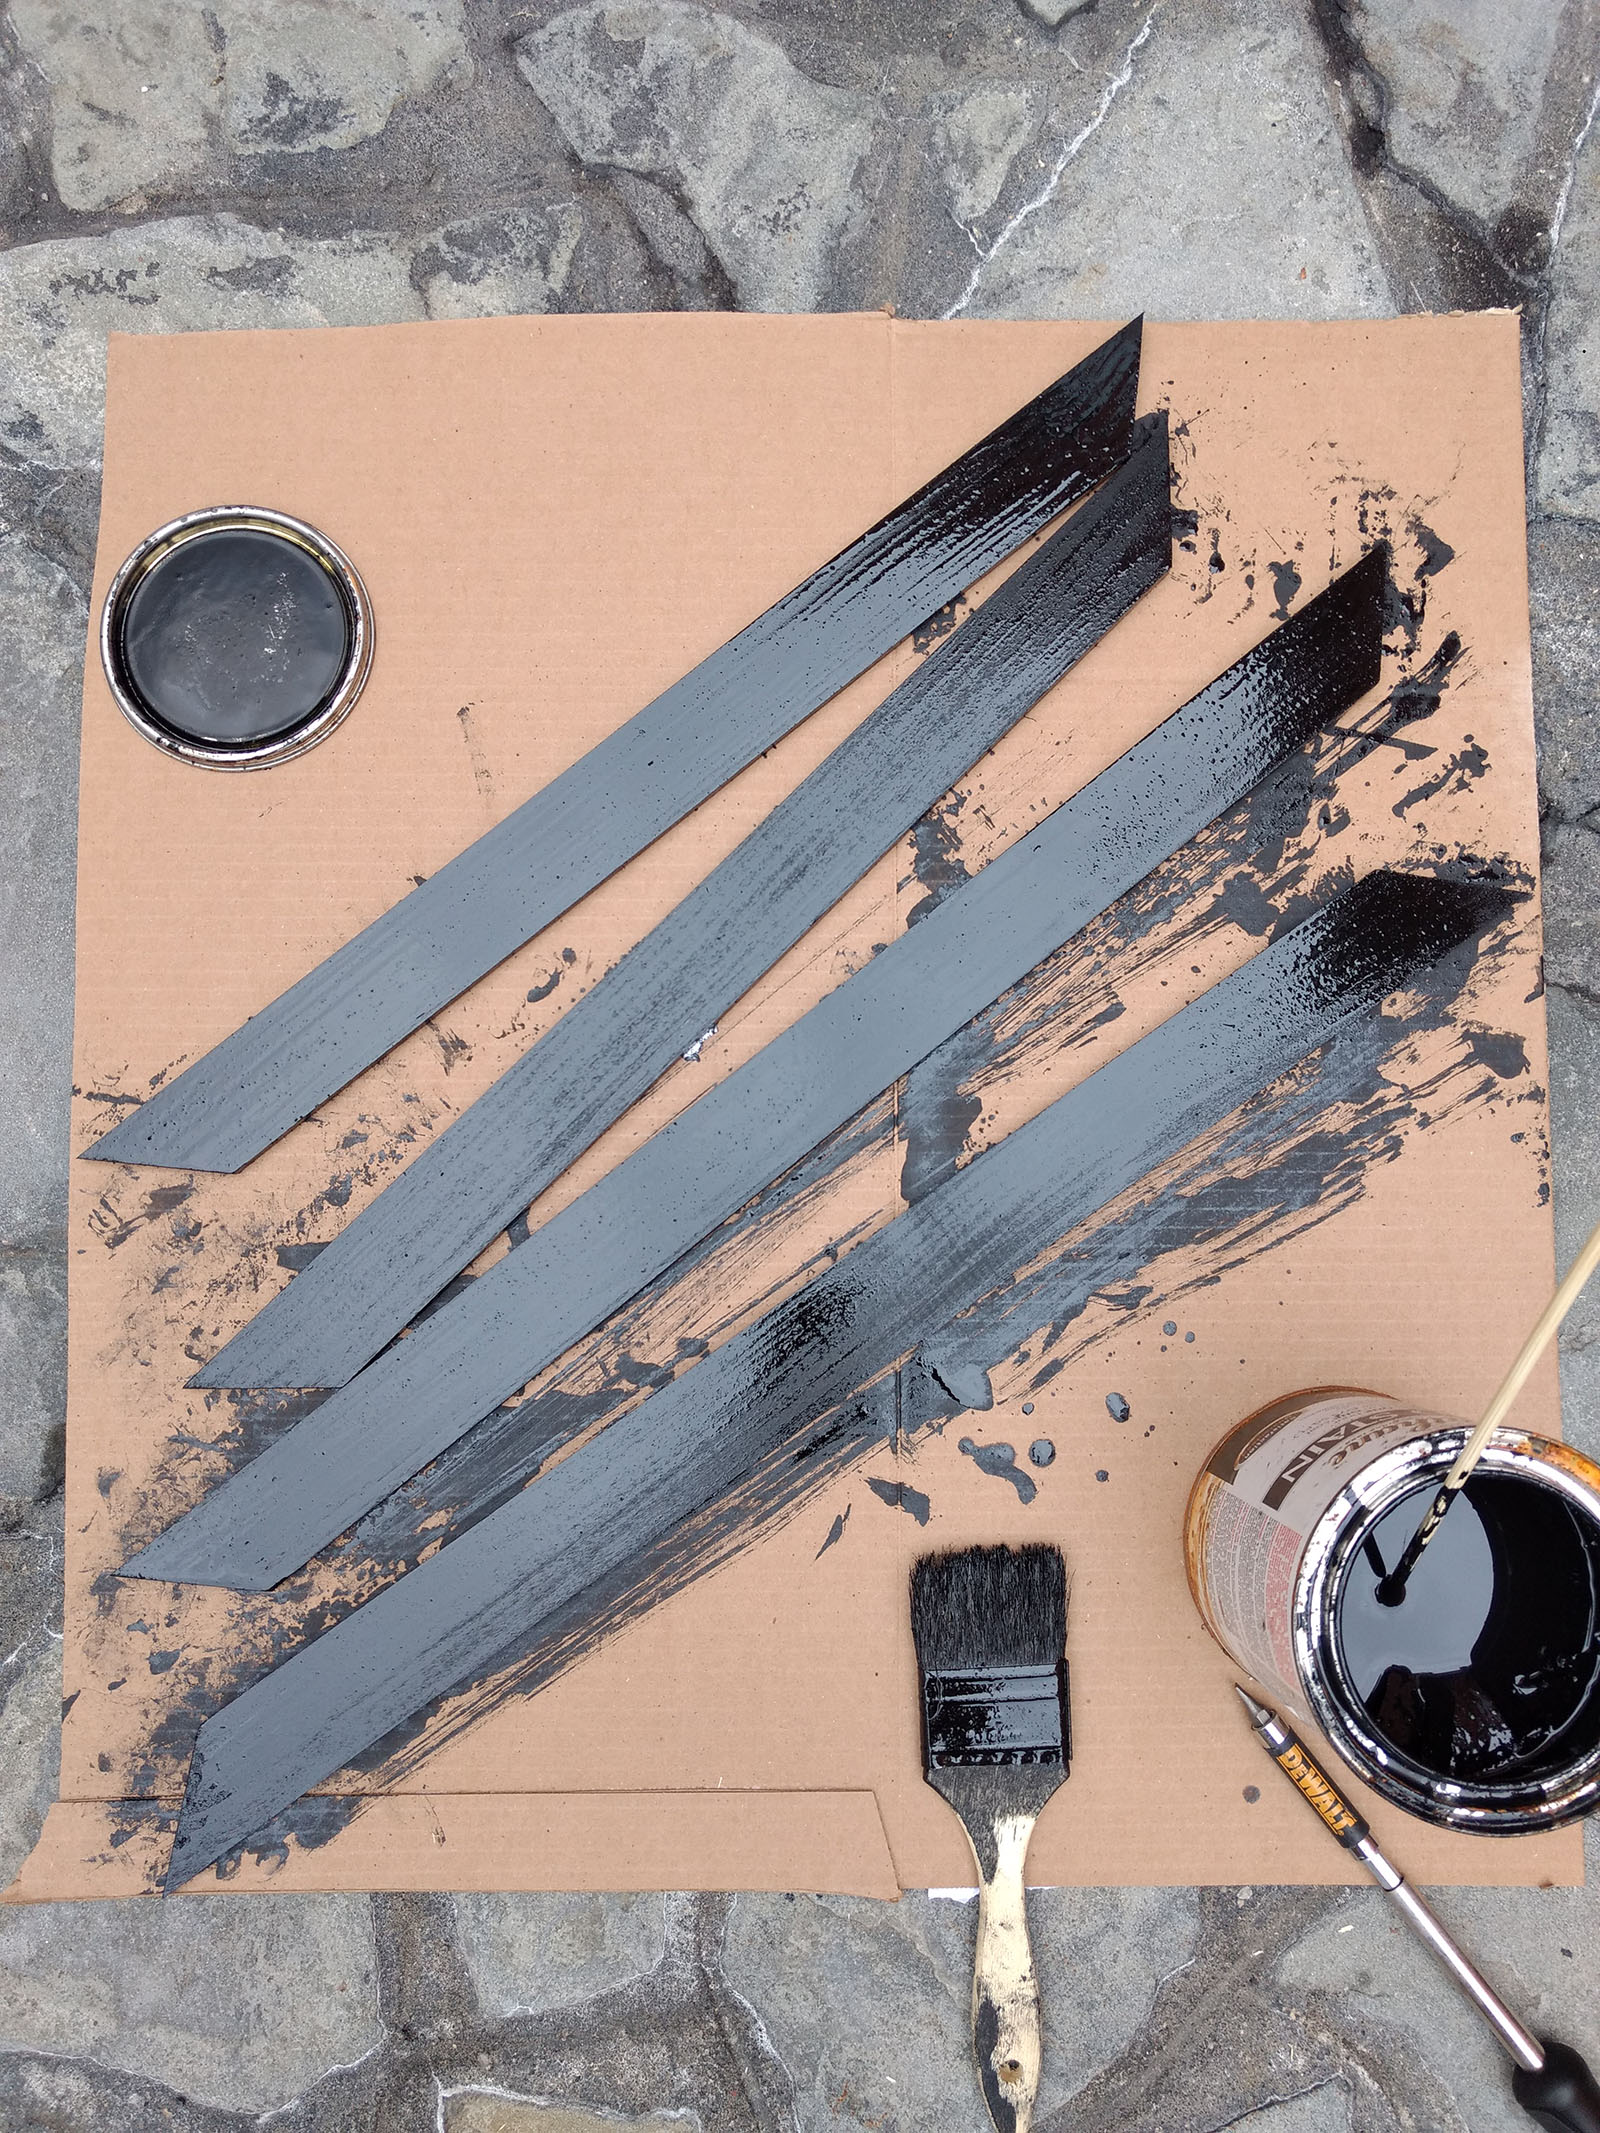
I used an ebony wood stain followed by a splash or two of polyurethane for that final glossy touch. Pro tip recommended by fellow coworker and future star of his own home gardening show, Sam L.: To get rid of any residual bumps or grainyness that reside after applying the clear coat, simply use a fine grit (120 or higher) sander and give the surface a few swipes. With a wet cloth or towel wipe off any dust and add another clear coat. It will be smoother than your little brother's Valentine's day dance moves.
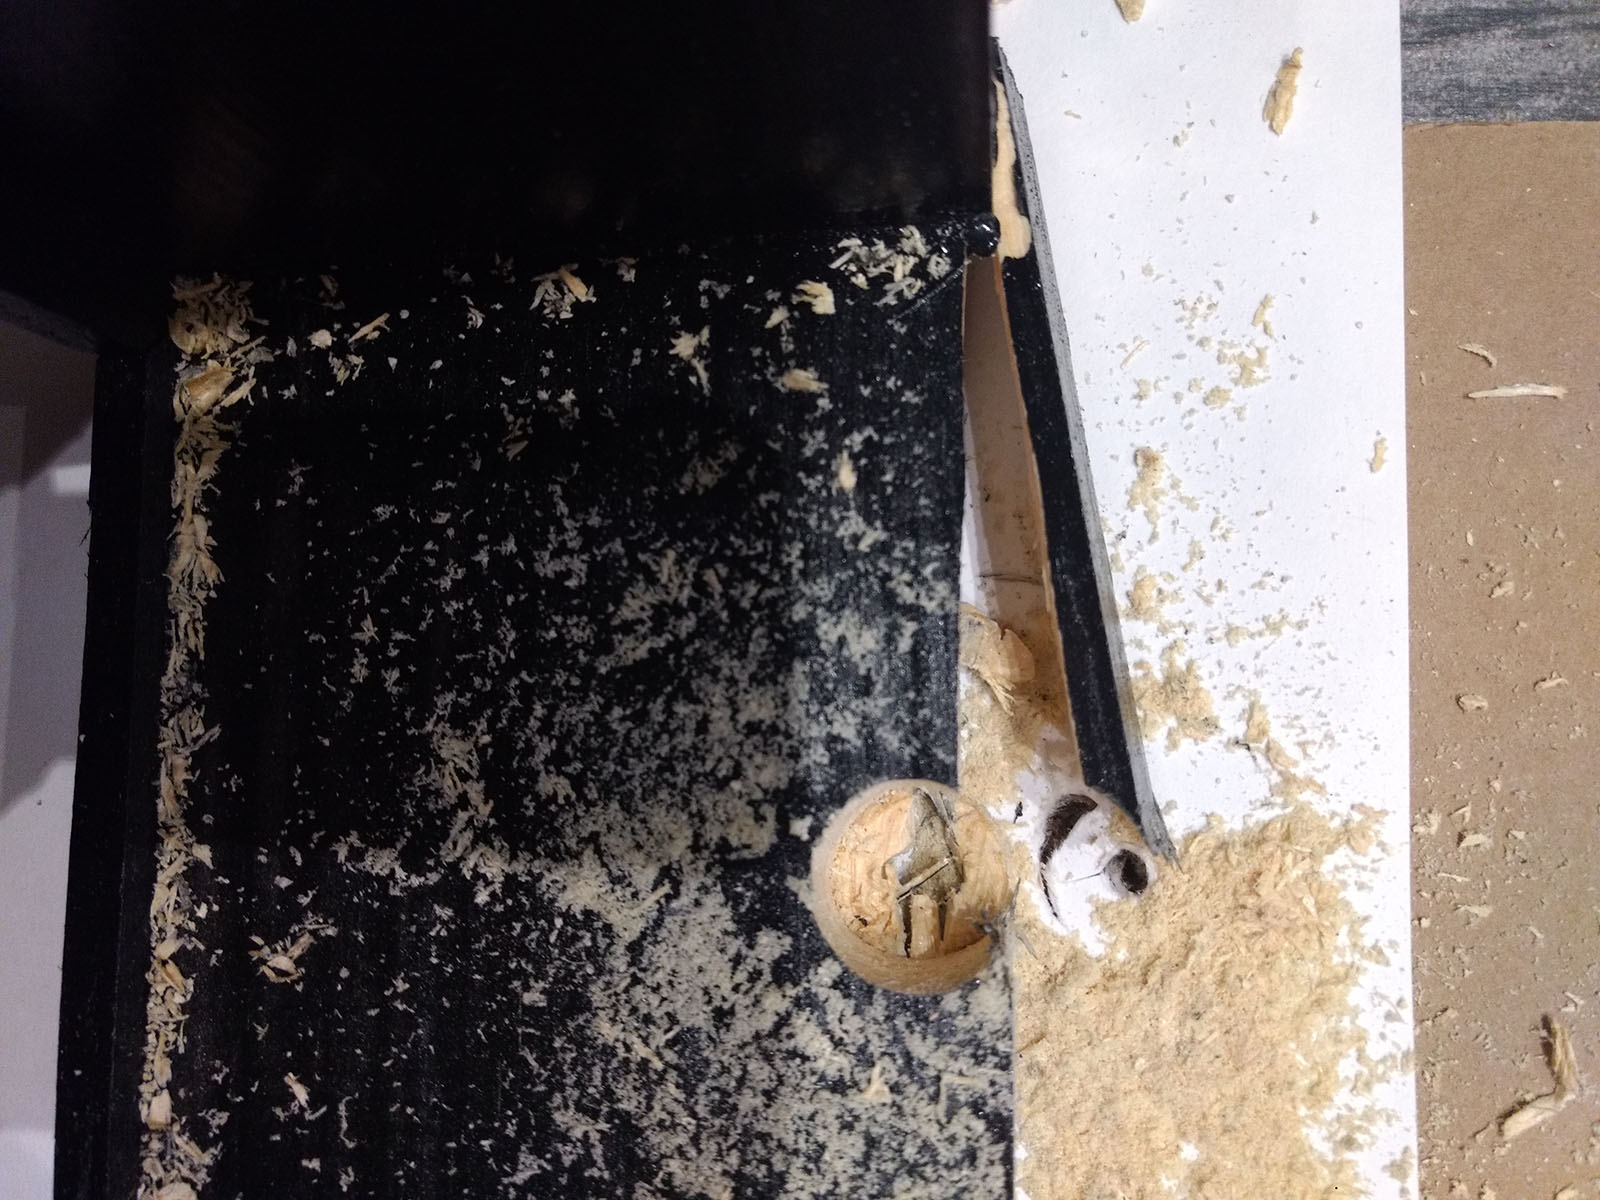
Unfortunately, one of the most important parts I left out was drilling either a grommet hole or a path for the power cable. I forgot to do this while I was first cutting the wood. This resulted in me chipping some of the already lacquered wood (and making a goddamn mess in my kitchen). "IT'S OK. I can fix with glue!", he shouted into the night sky.

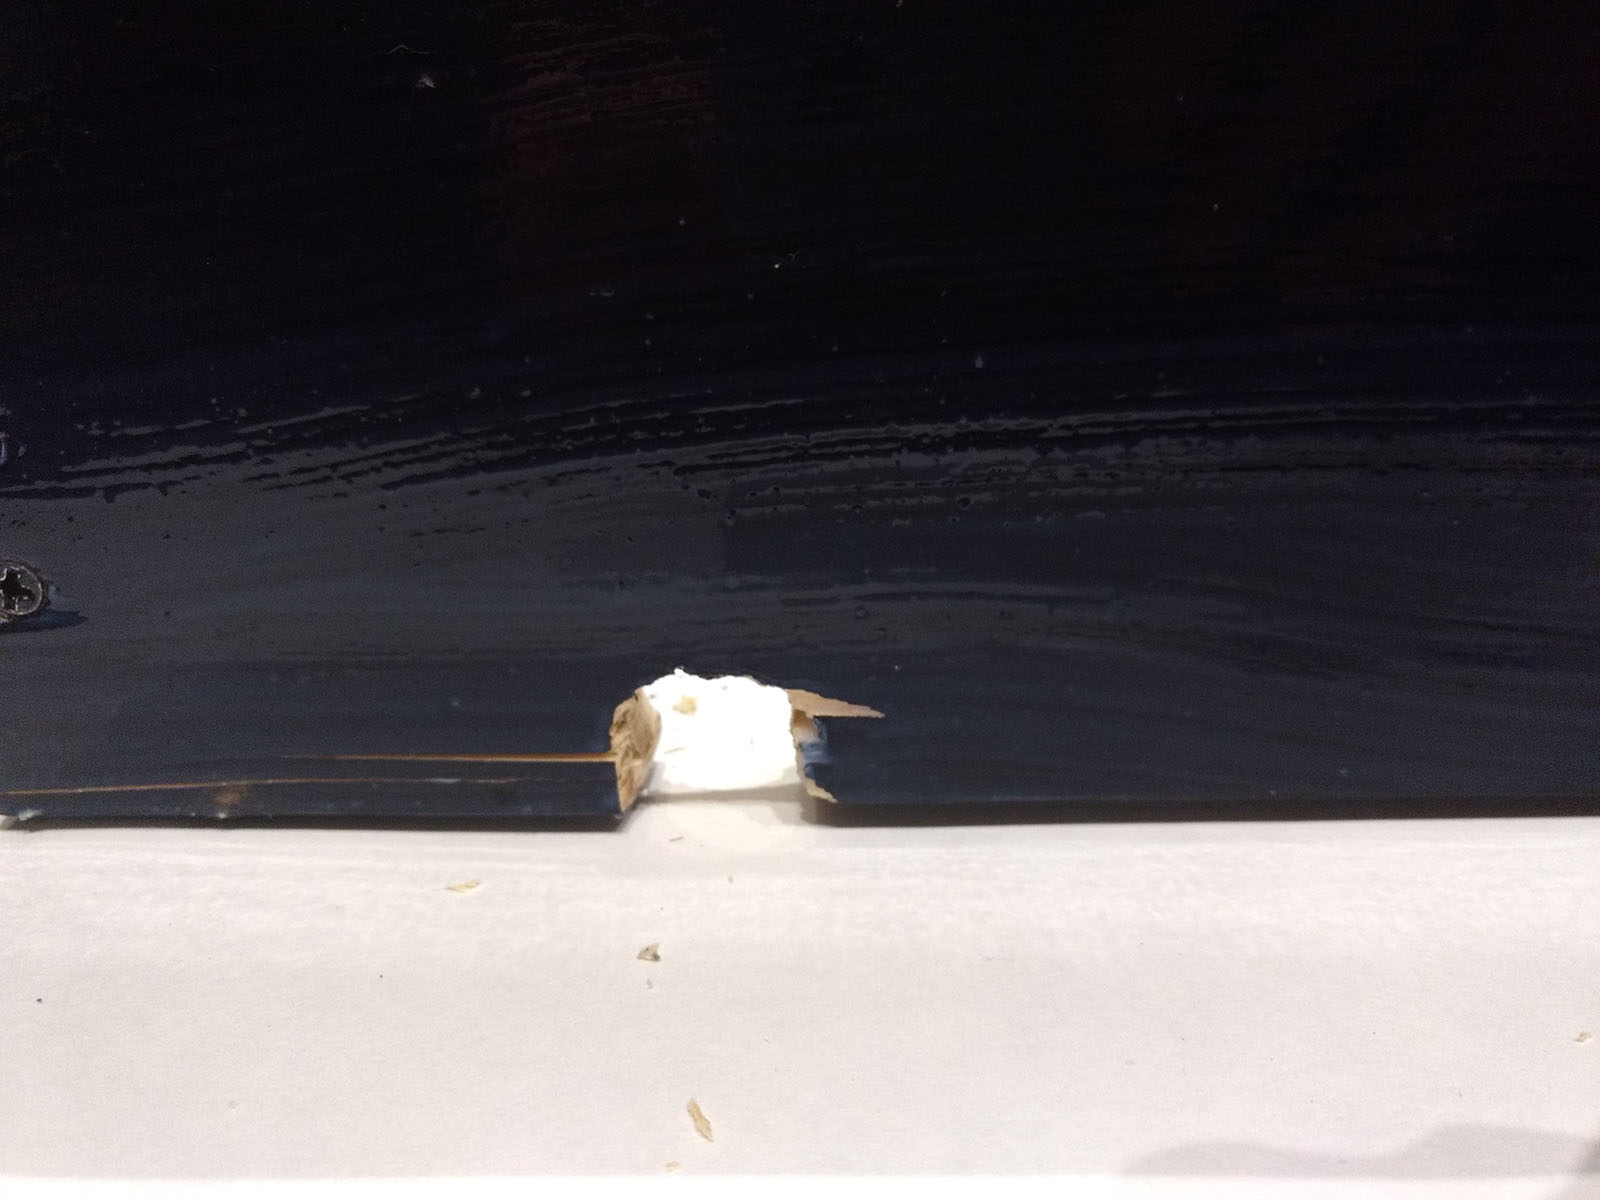
Once I finished cursing the gods and shaking my fist at the moon, I started mounting the equipment.
-
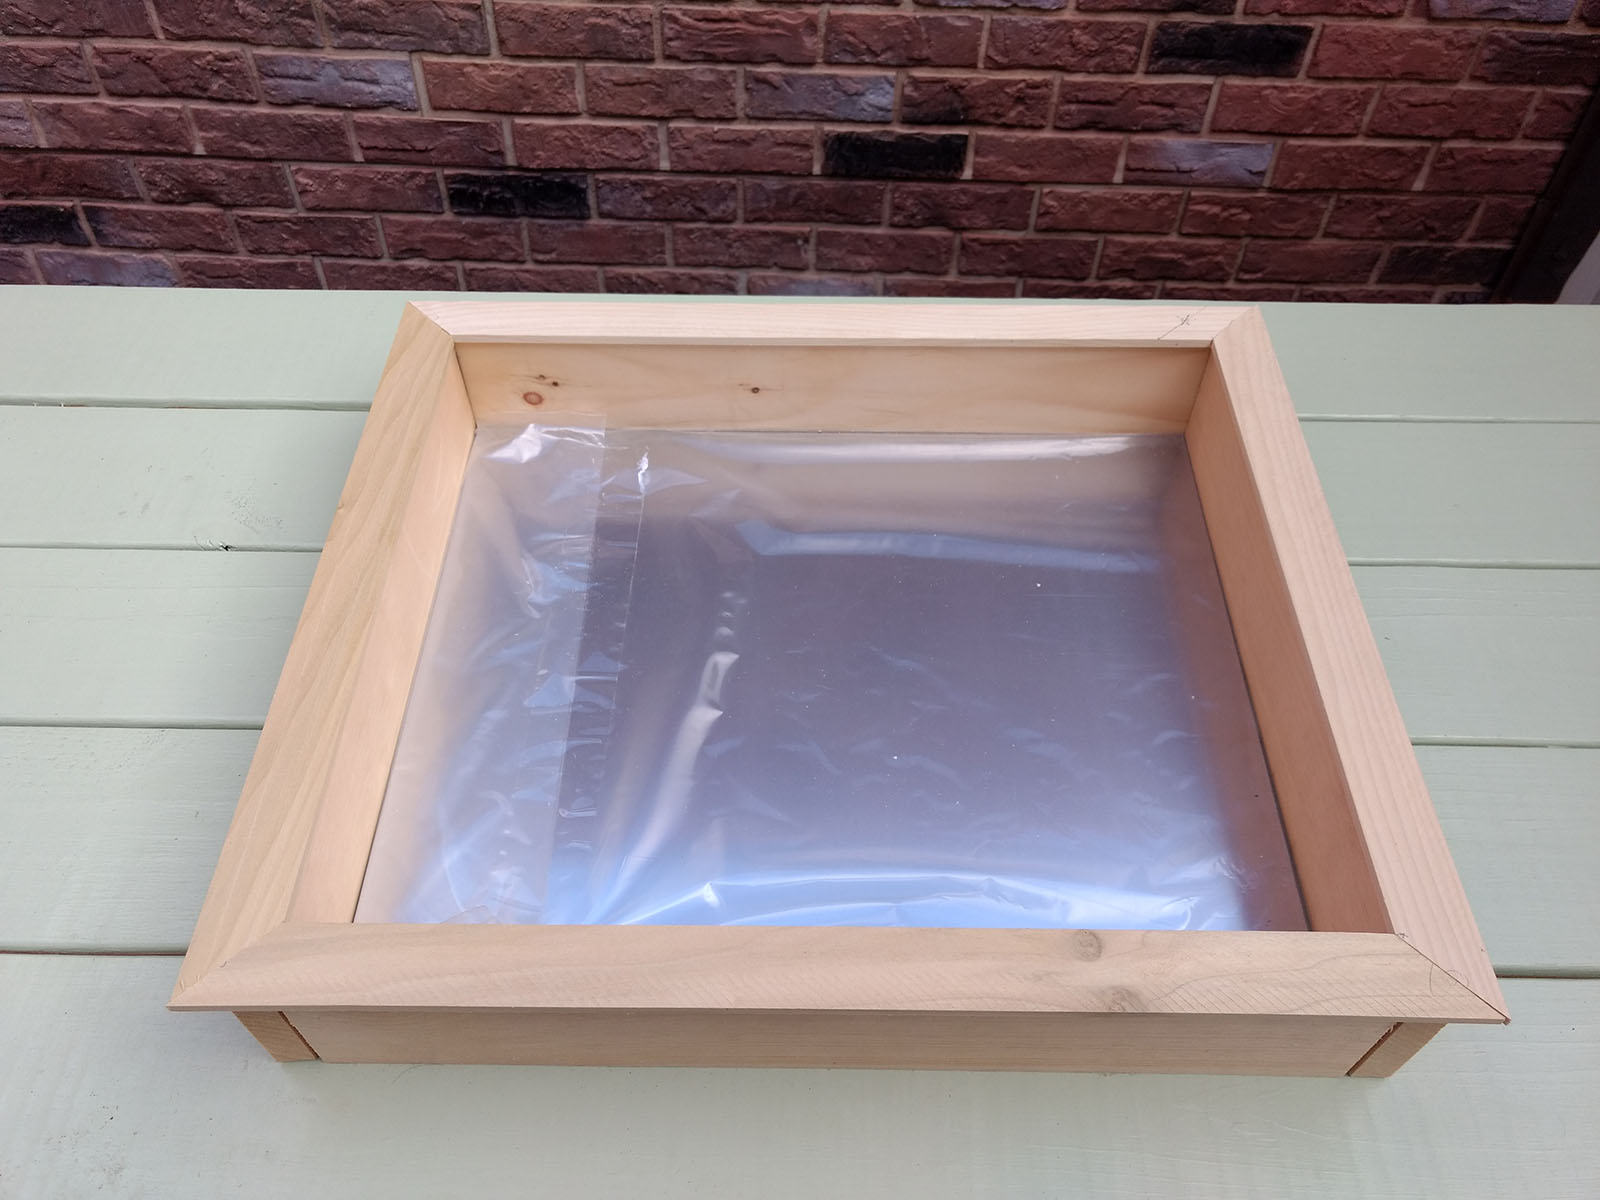
1. Install the mirror. Add a few strips of double sided sticky tape as cushion (and to keep it from wiggling around).
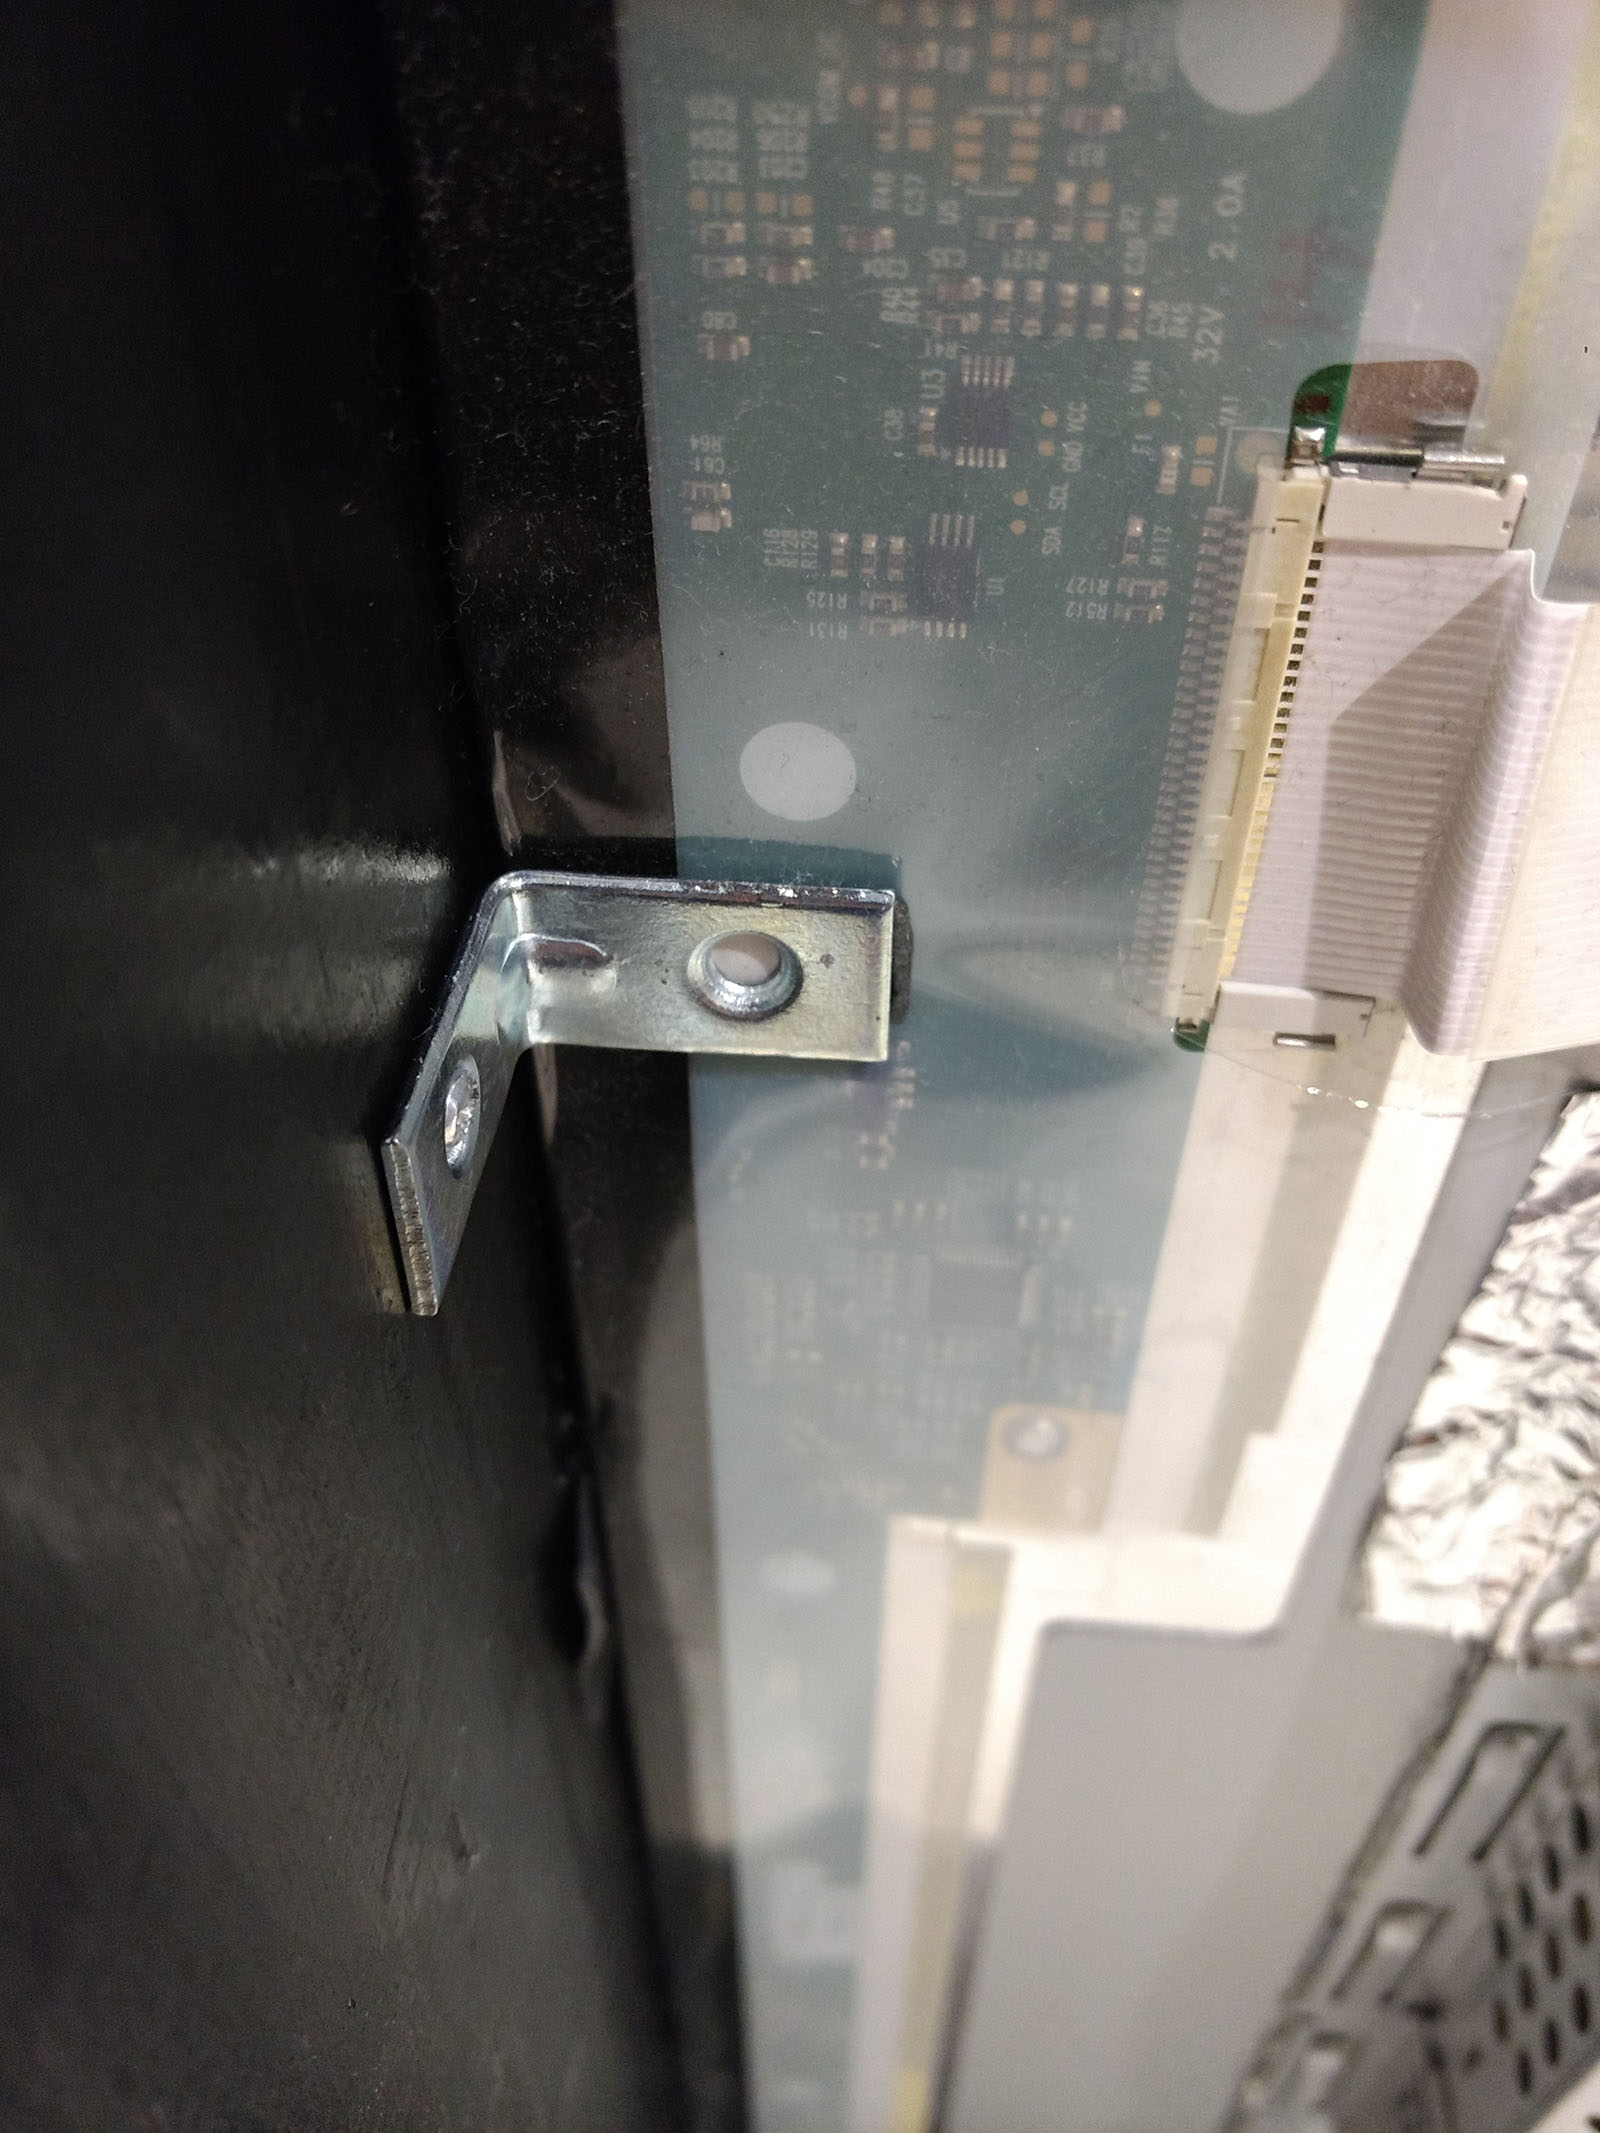
2. Install monitor display. Pop this bad boy into the frame directly behind the mirror, pressing it into the mirror as close as you can get. To keep it from wiggling around, use two small 'L' brackets (or screws) and screw one on each side behind the monitor. Be sure you check the orientation of your mirror in relation to the hole for the power cable. If you need to, you can adjust your display orientation (hopefully without too much trouble).
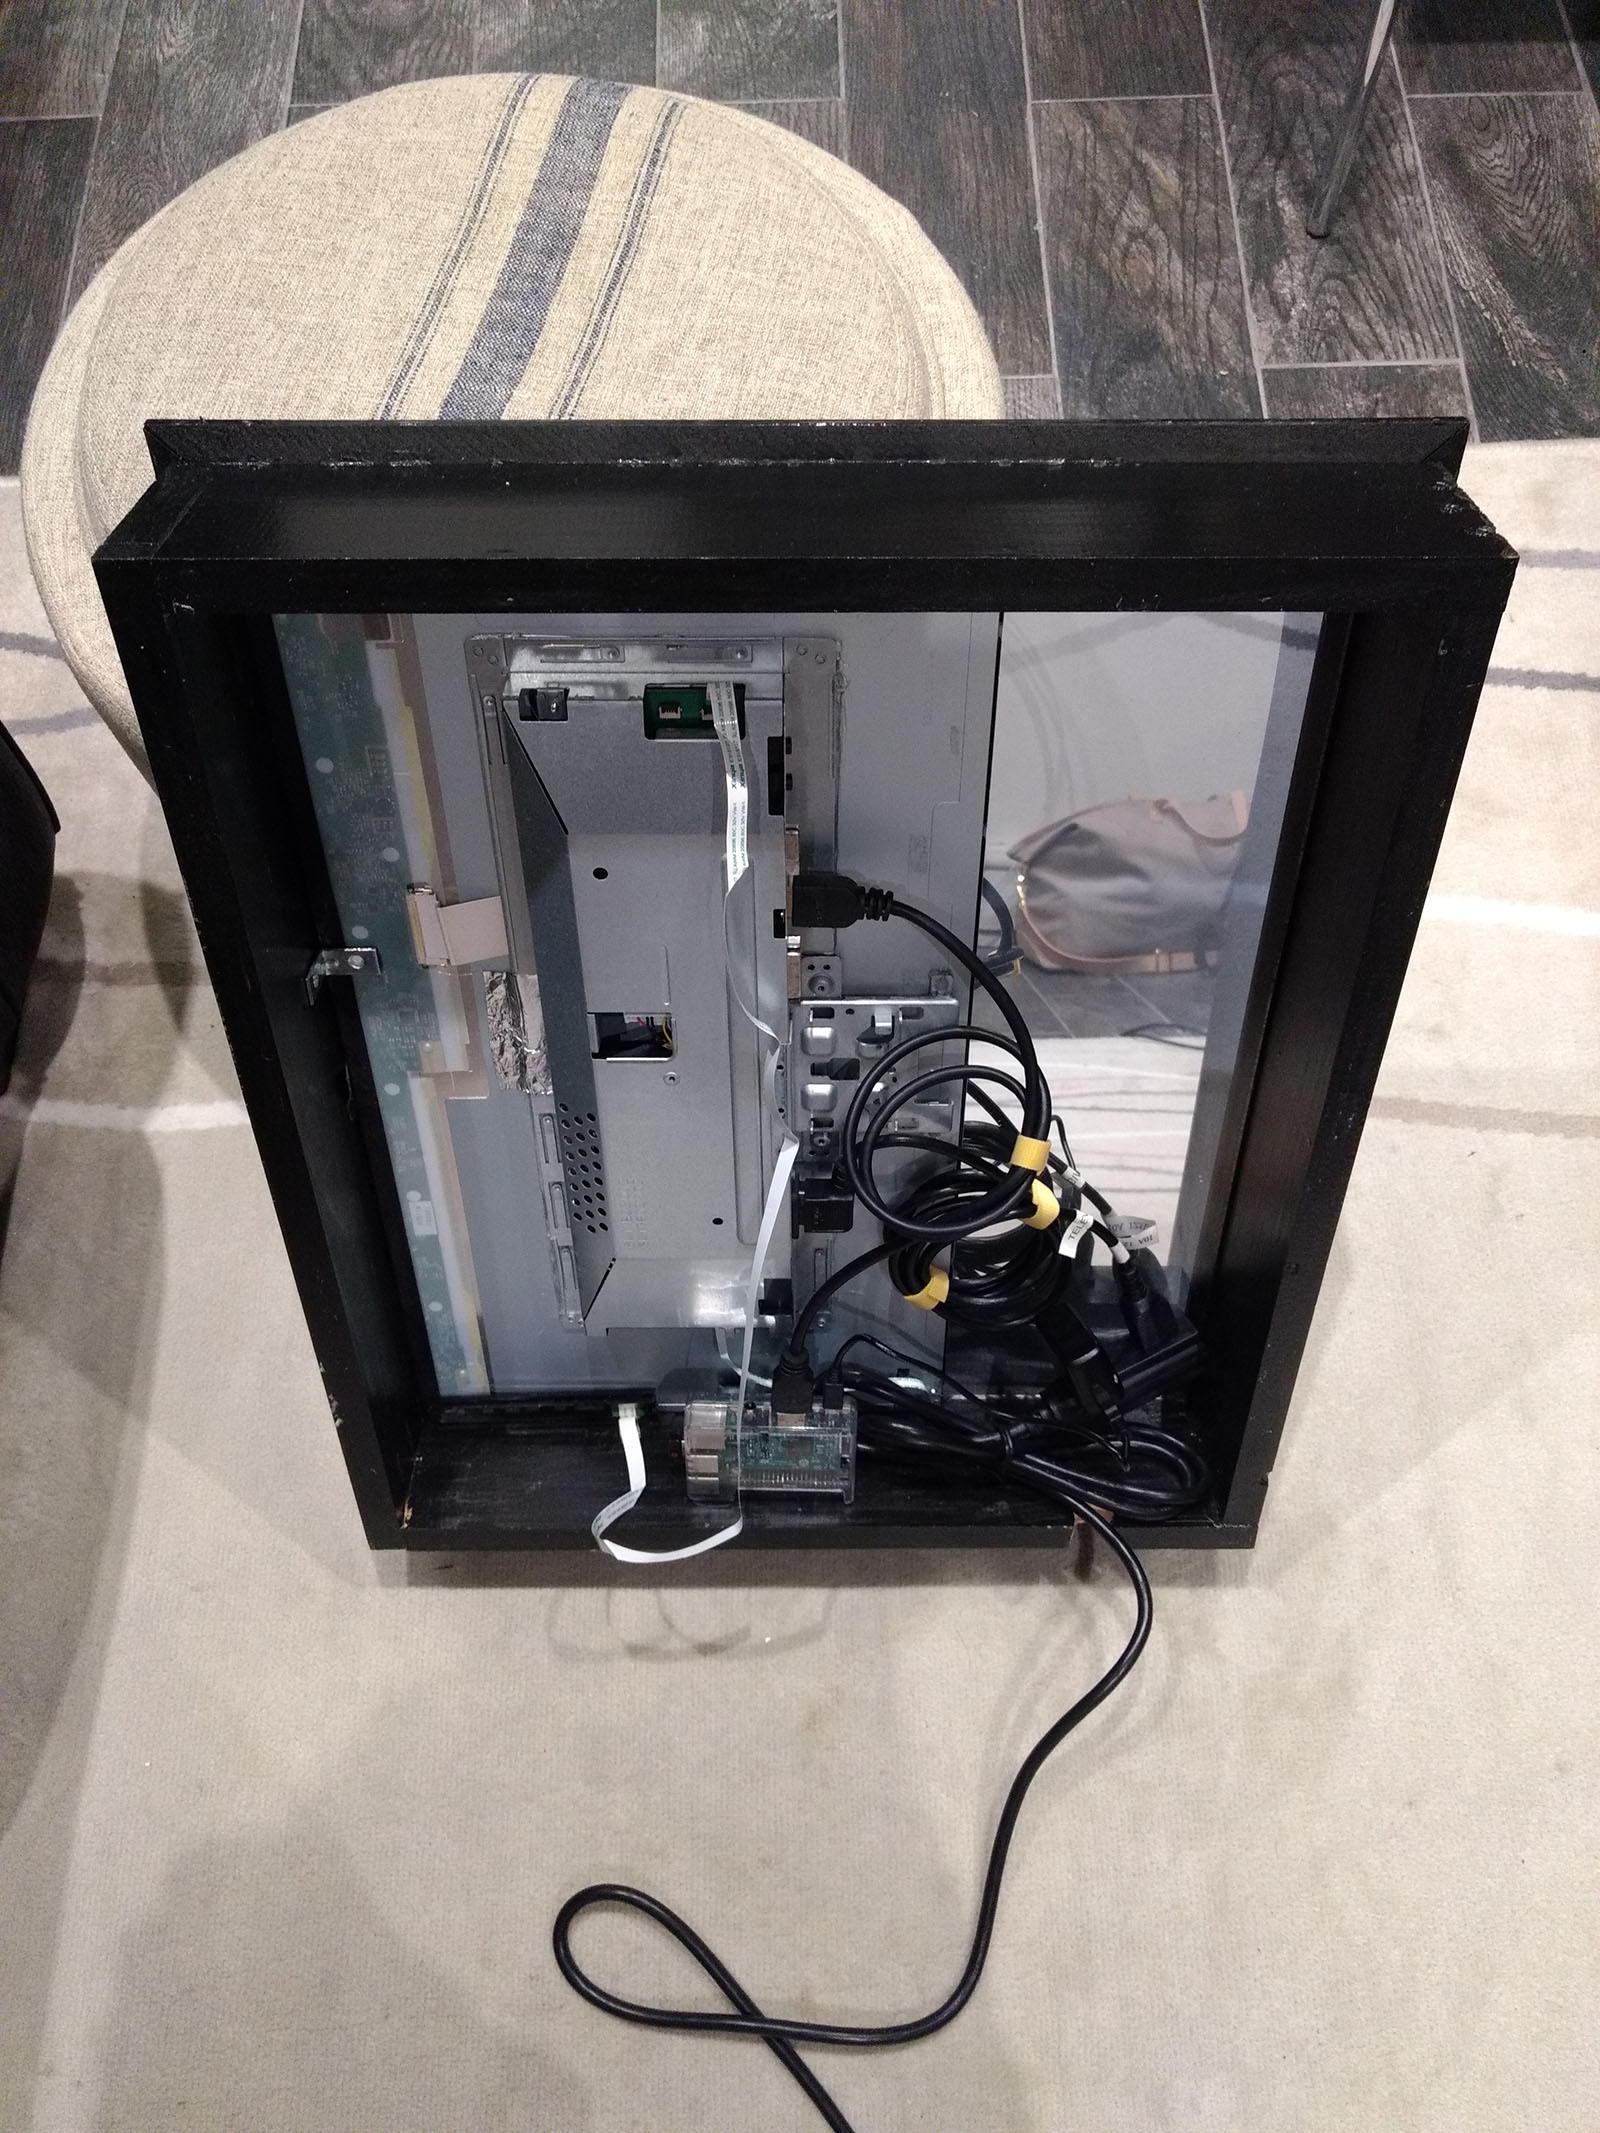
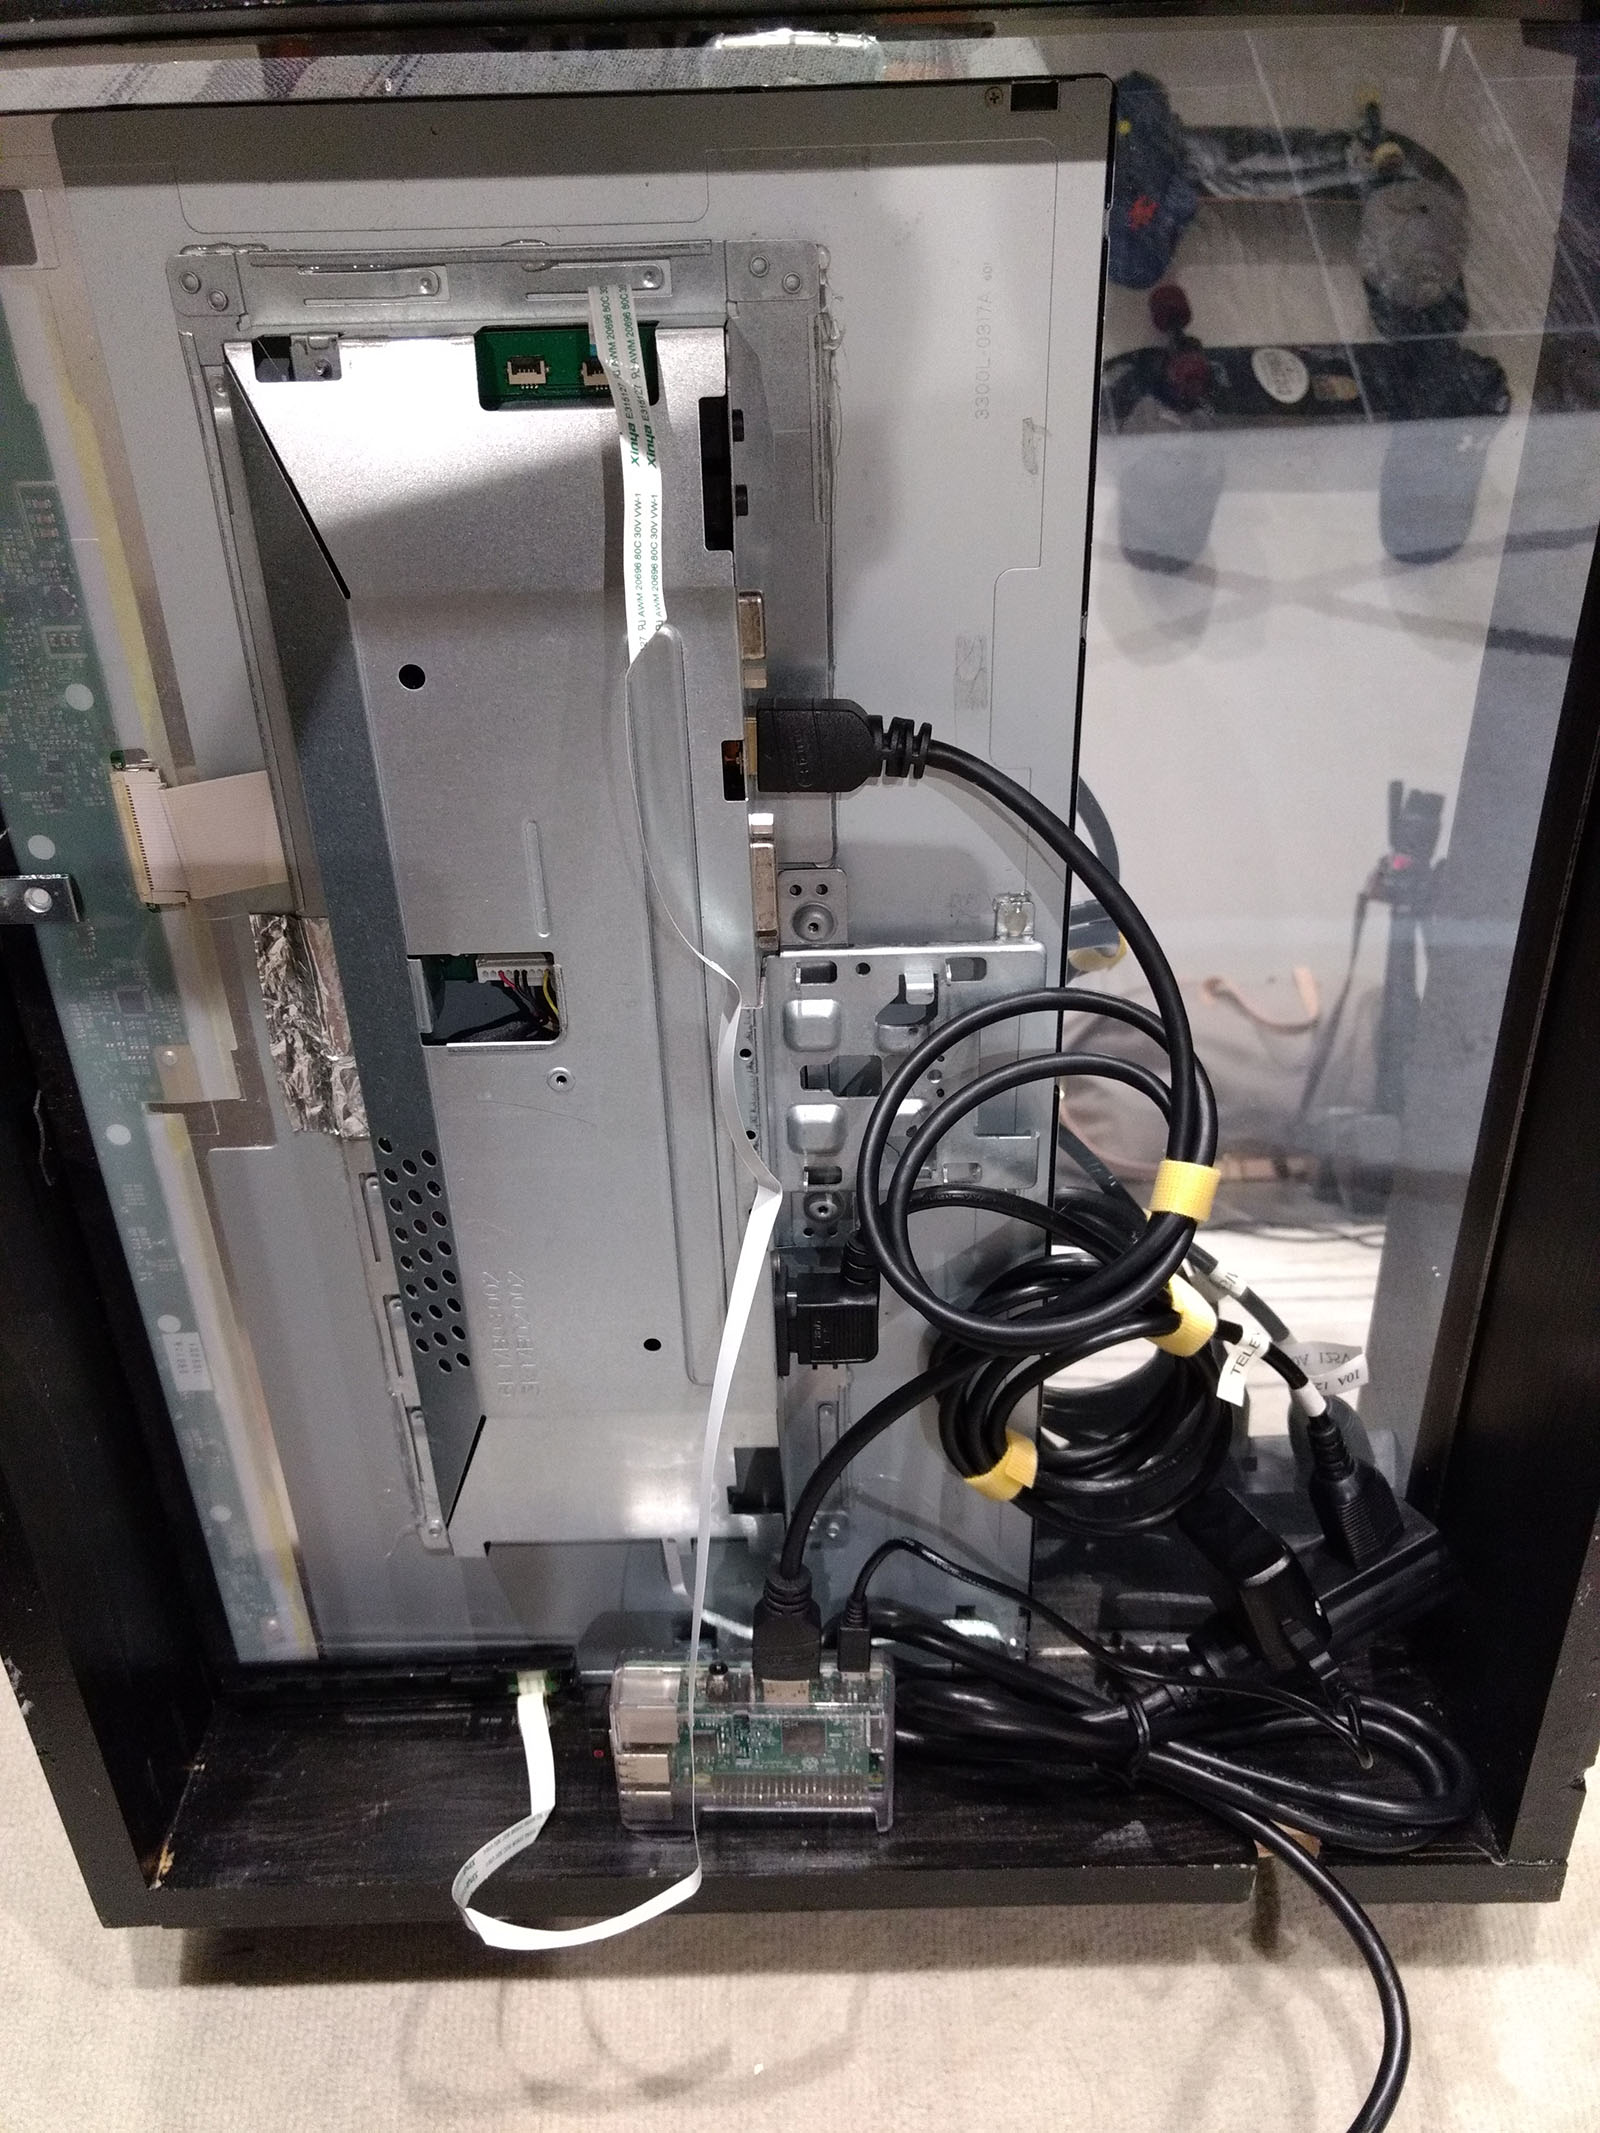
3. The Raspberry Pi is small enough to be double sided sticky taped to either the frame or directly to the back of the monitor, so choose your own adventure.
4. Connect yo' shit. Connect the HDMI cable from your Pi to the monitor. Connect the power cords and run the power cable through the hole.
5. POWER. Plug it into the wall and let the magic happen.

Fuck-ups, Learnings, & Notes
-
- Wood is not forgiving, but glue helps.
- Drill and make your holes and adjustments BEFORE you paint/lacquer your wood.
- Don't leave your freshly painted wood outside or birds will co-sign your art with feathers and/or droppings.
- Measure everything 184.7 times and cut once, SLOWLY.
- Buy extra wood. You gon' need it (see above item).
- Use only high-quality paint brushes and avoid the cheap "yeah this'll do" Home Depot bargain brushes, otherwise you'll have bristles embedded in your paint.
- 1" or longer wood screws and Gorilla Glue (for wood) is an excellent combo. Don't overdrill your screws as this will tighten the wood around your mirror and if you are already at minimum specs for your acrylic mirror, it will make popping the mirror in later a pain in the ass.
- Raspberry Pi was originally loaded with Raspbian OS, which crashes if your screen config is rotated to match the portrait/landscape style of your mirror. Soon after, reloaded with the NOOB OS which plays quite nicely with the magic mirror software and the 270 degree orientation I had configured the monitor for. - Take your time (maybe not as much as I did).
I now have a magic mirror that I spent almost three months working on. Does it tell me the latest news headlines? Yep. Does it tell me if I'm going to need an umbrella? Sure does. Does it get me to work on time? NOPE.
Although this project is done and filed away in the "Things I don't ever want to do again" section in my book, I still have some unfinished business. I'm working on adding an MTA alerts status display as part of the standard display. I'll post an update once I have this working. In the meantime, I'll just take compliments from my programmable artificial mirror friend about how I look like a young Jeff Goldblum.
Helpful product links and related articles:
- Raspberry Pi
- Acrylic two-way mirrors
- Magic Mirror tutorial
- MTA Module (via Github)