Batteries not included
So I built a death machine skateboard
I'm not sure what prompted me to even start on this project. I think it was just a curiosity to see if I could build an electric skateboard on my own instead of succumbing to buying one outright (and possibly saving some moolah).
Many searches on the internet and some heavy browsing on Instructables.com led me to the following conclusions:
a) Electric skateboards are expensive af.
b) Most of the DIY ones are pretty janky and require a lot of popsicle sticks and glue. Not exactly my bag, (baby).
c) I would need a one-stop shop for all parts (rather than piece-mealing it together from multiple sites) and have the urge to customize the shit out of it.
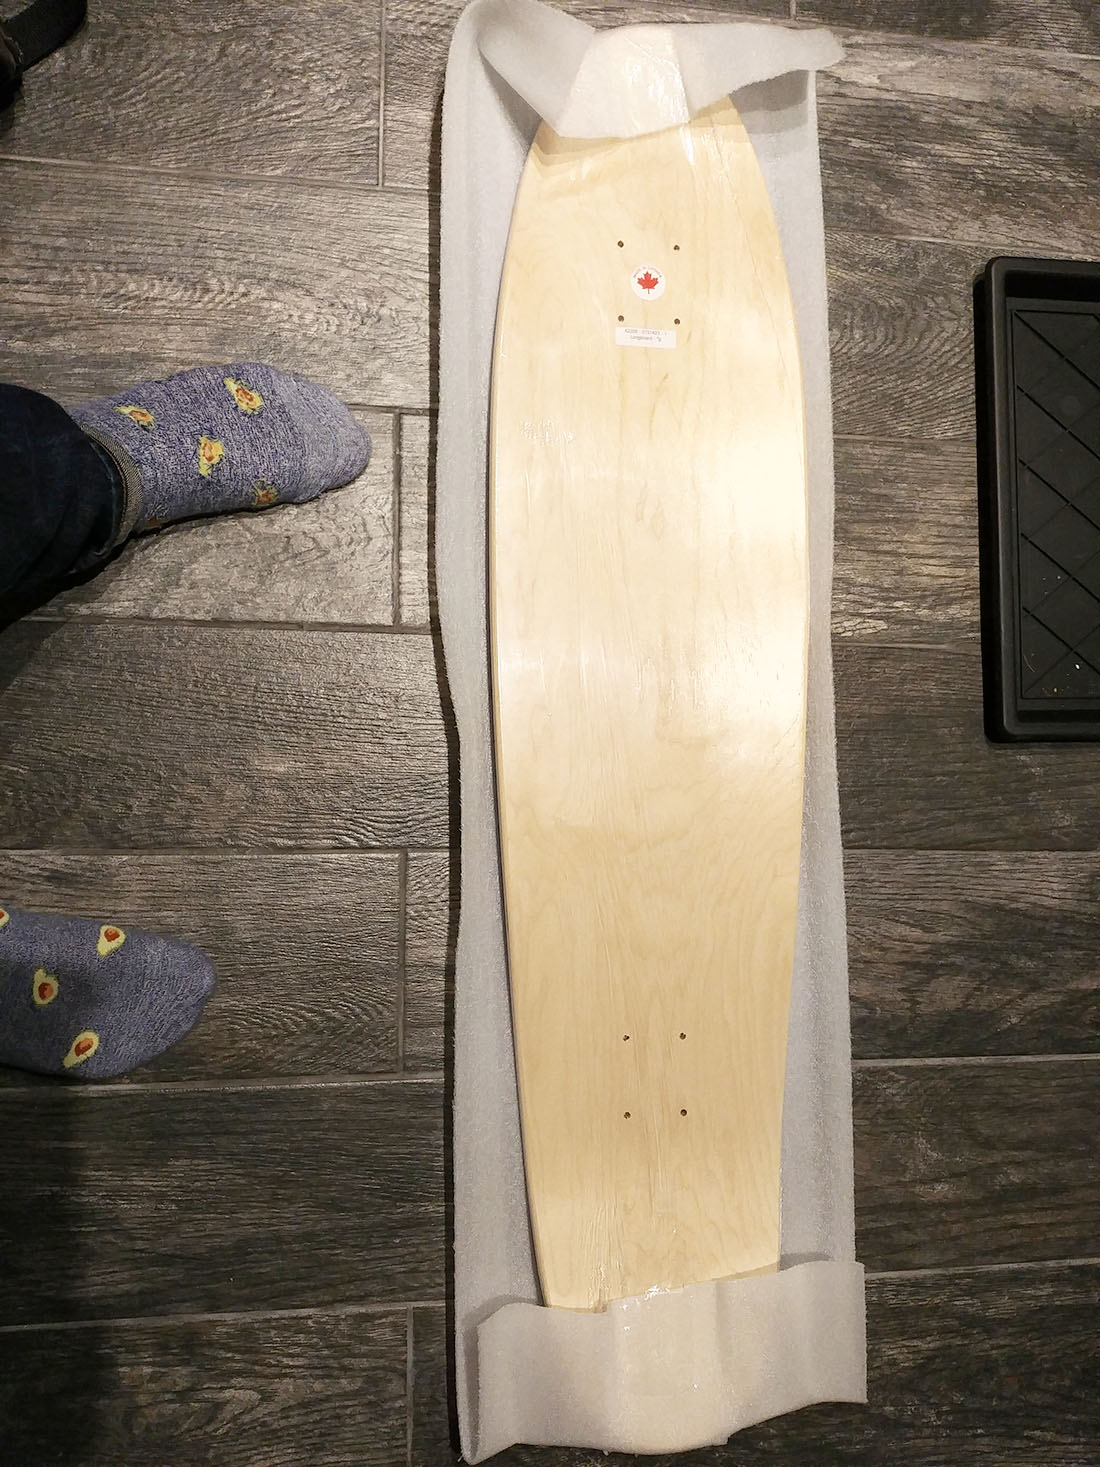
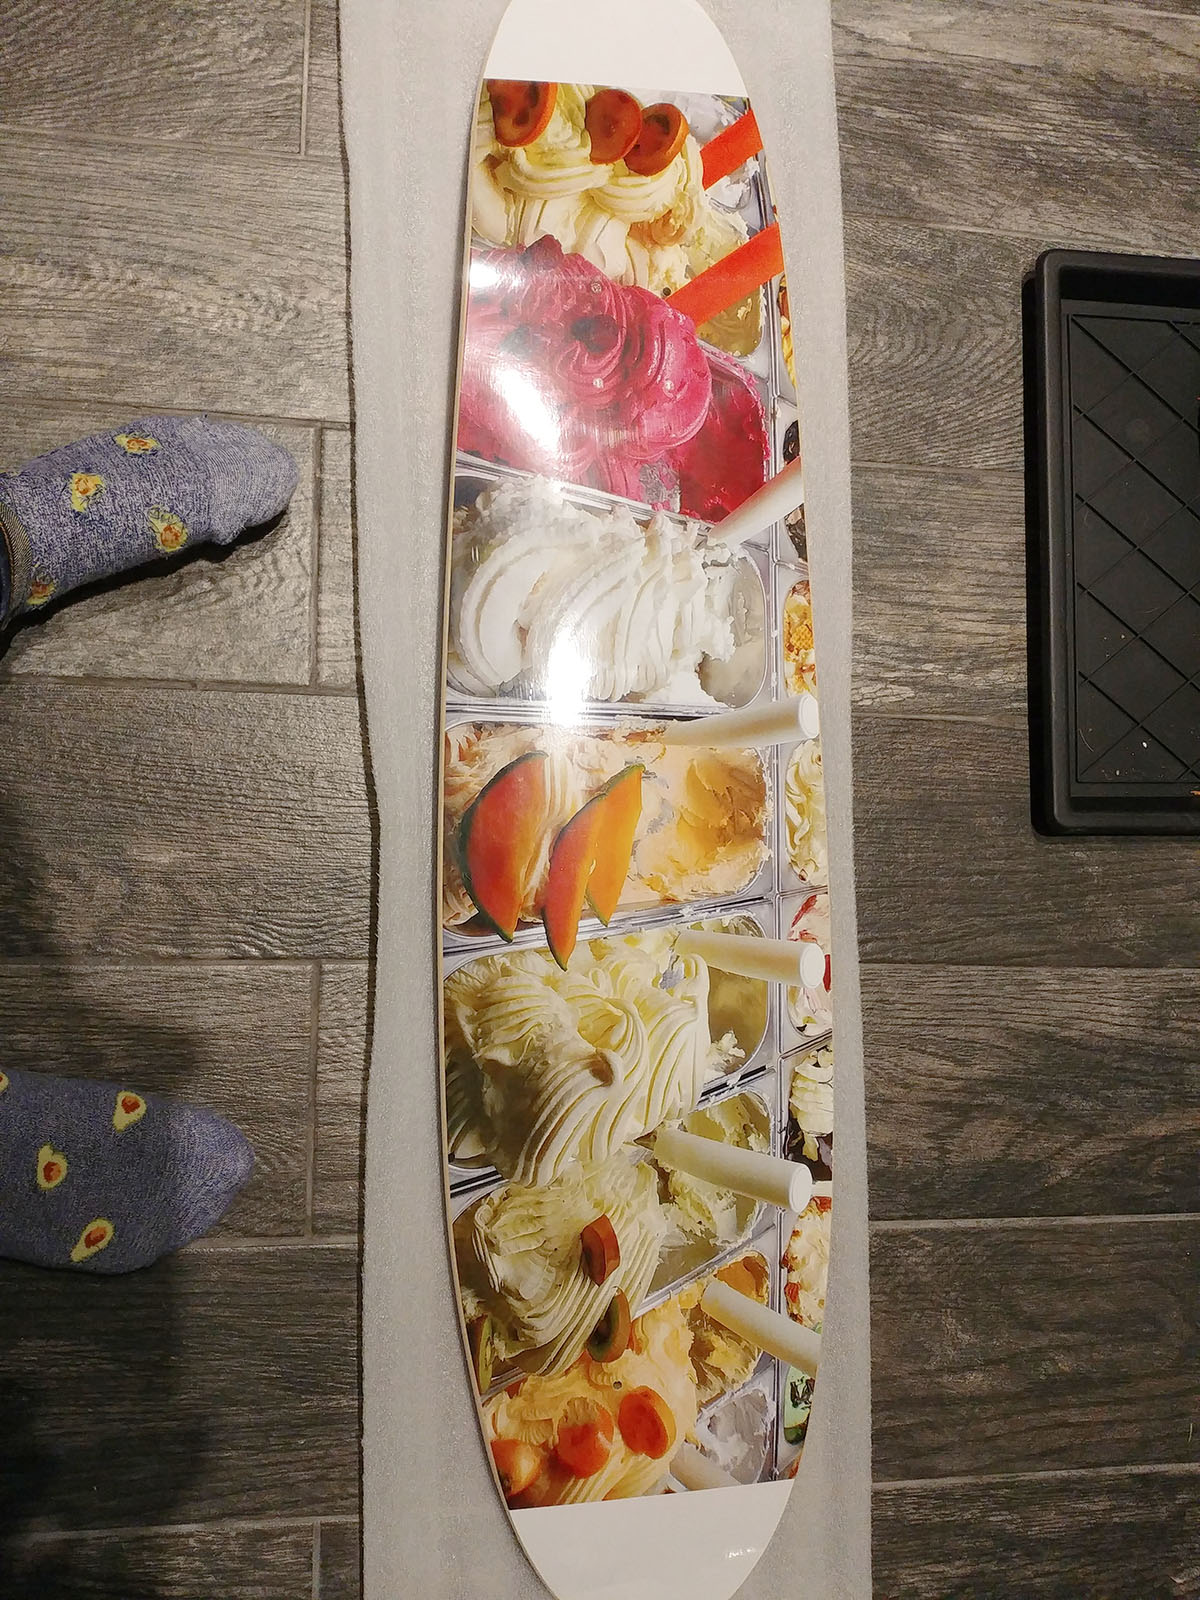
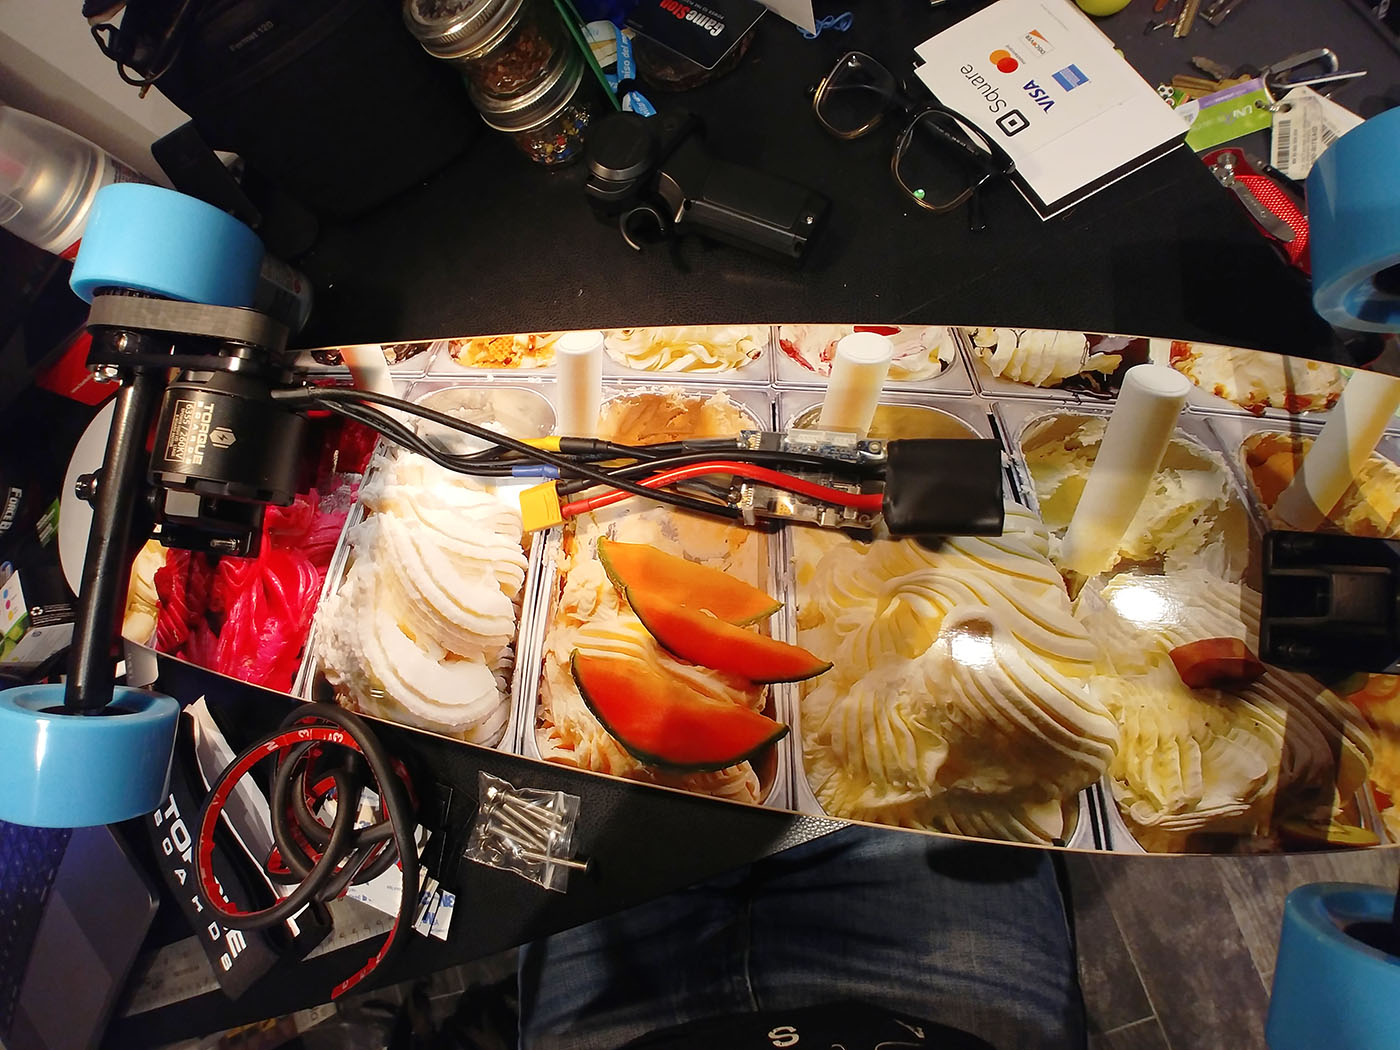
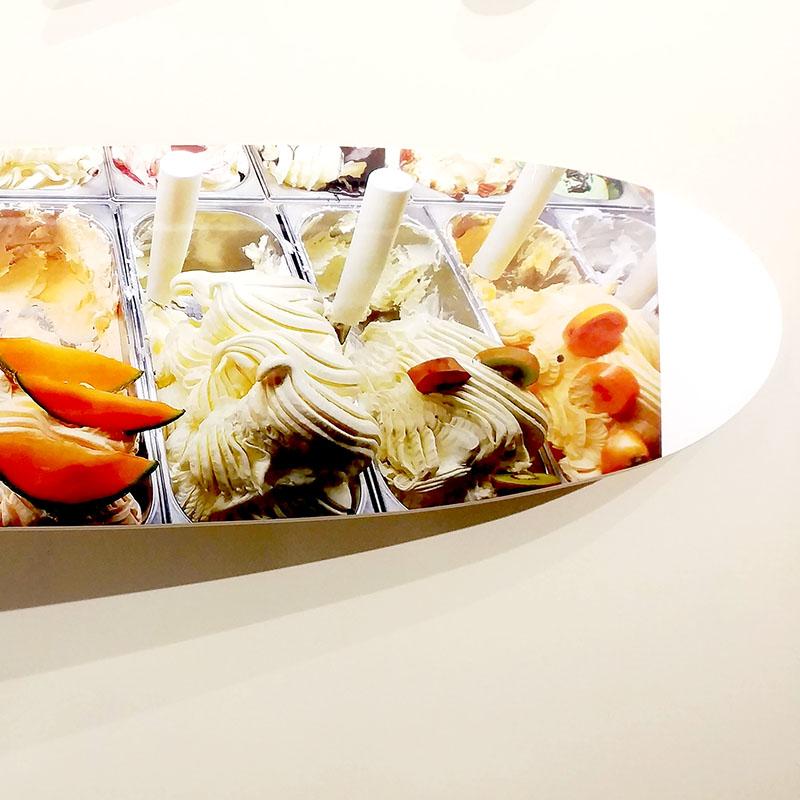
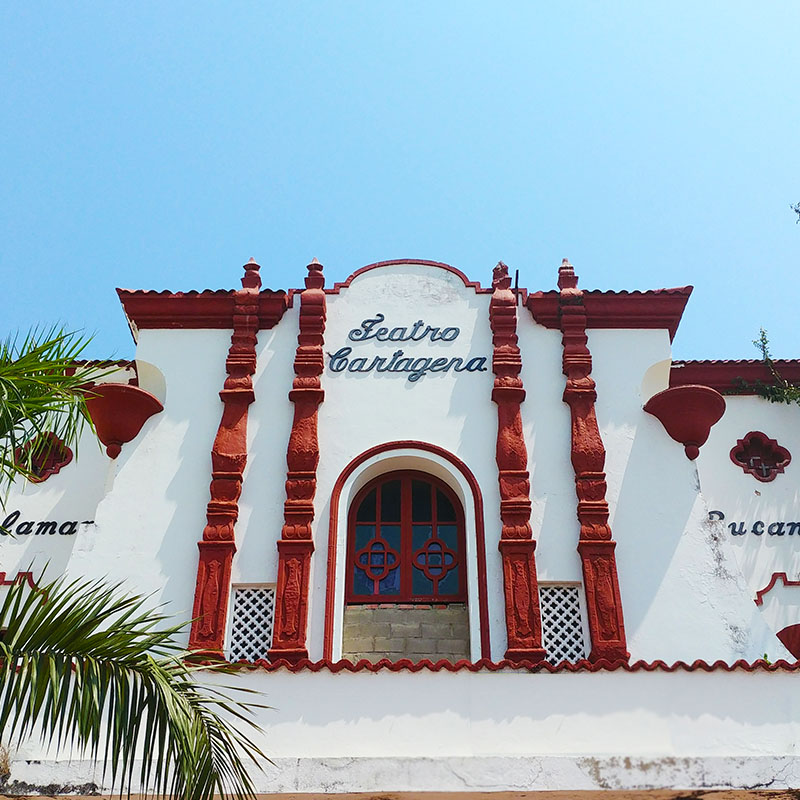
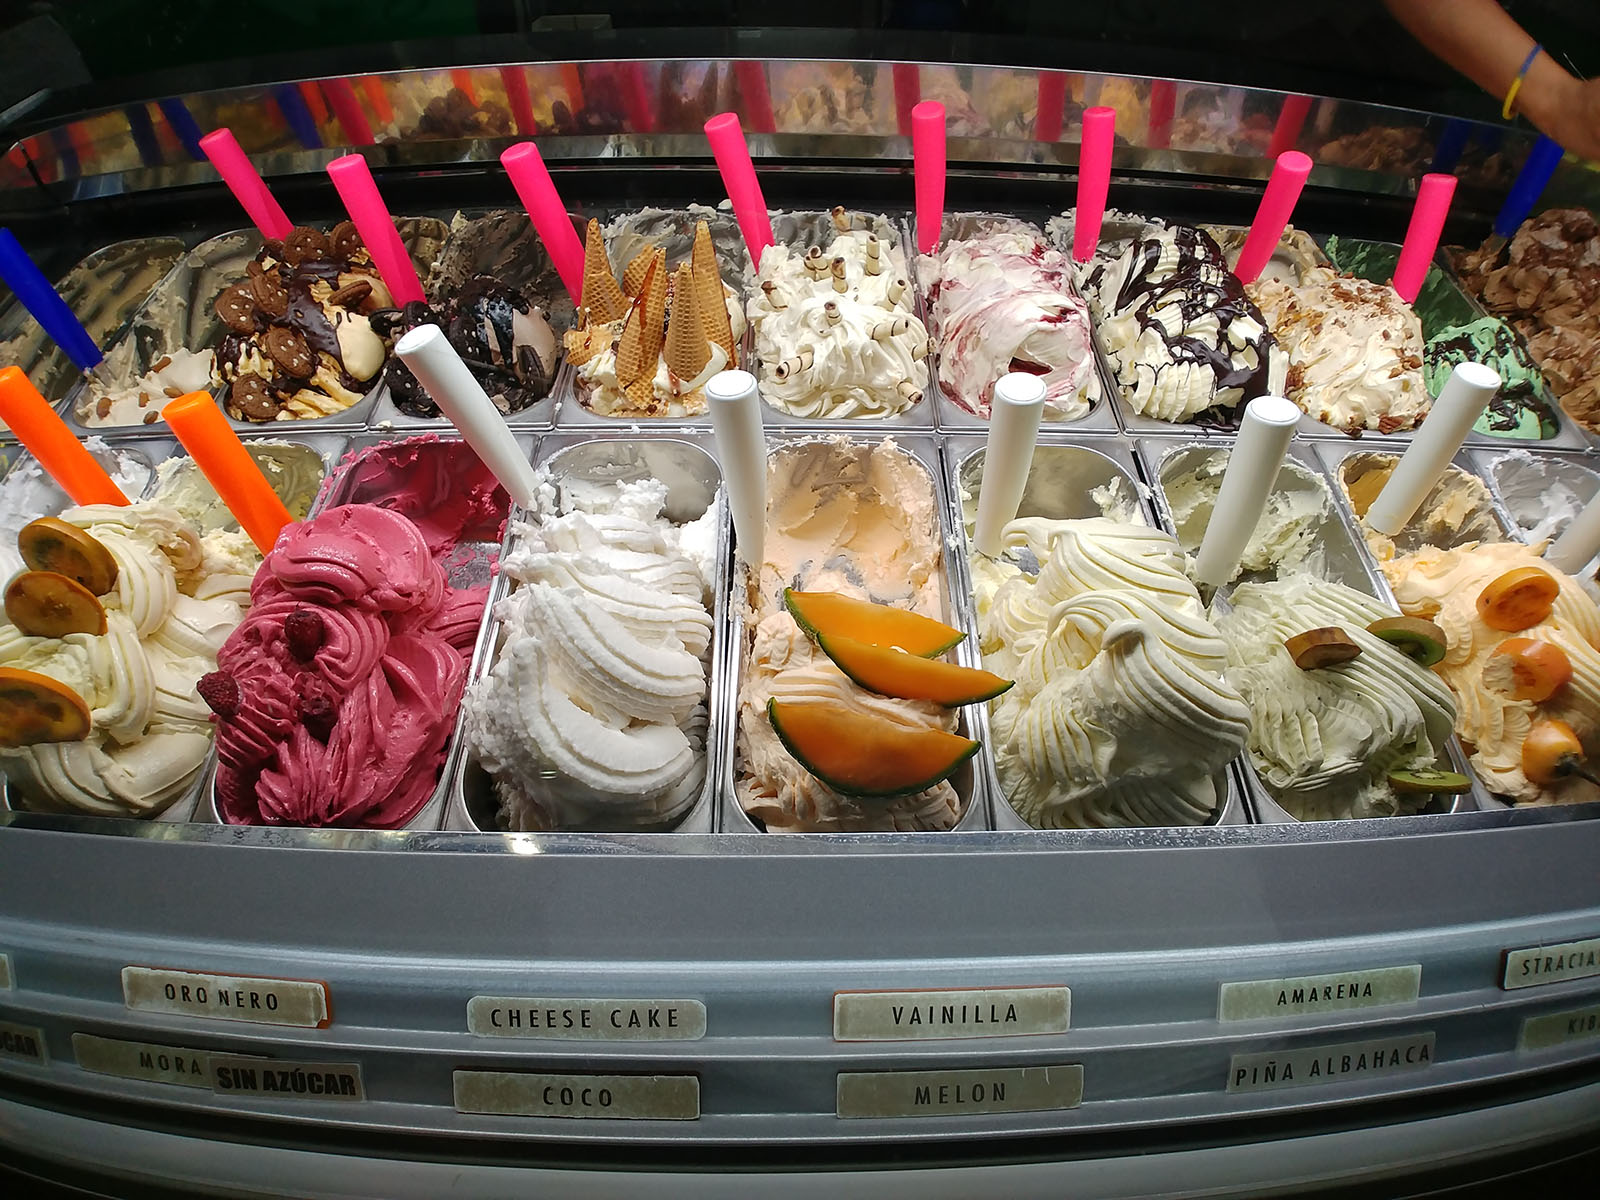
First, I ordered a customized board from Boardpusher.com, ($83.99) and what better image to put on a customized skateboard than this one from my Cartagena trip:
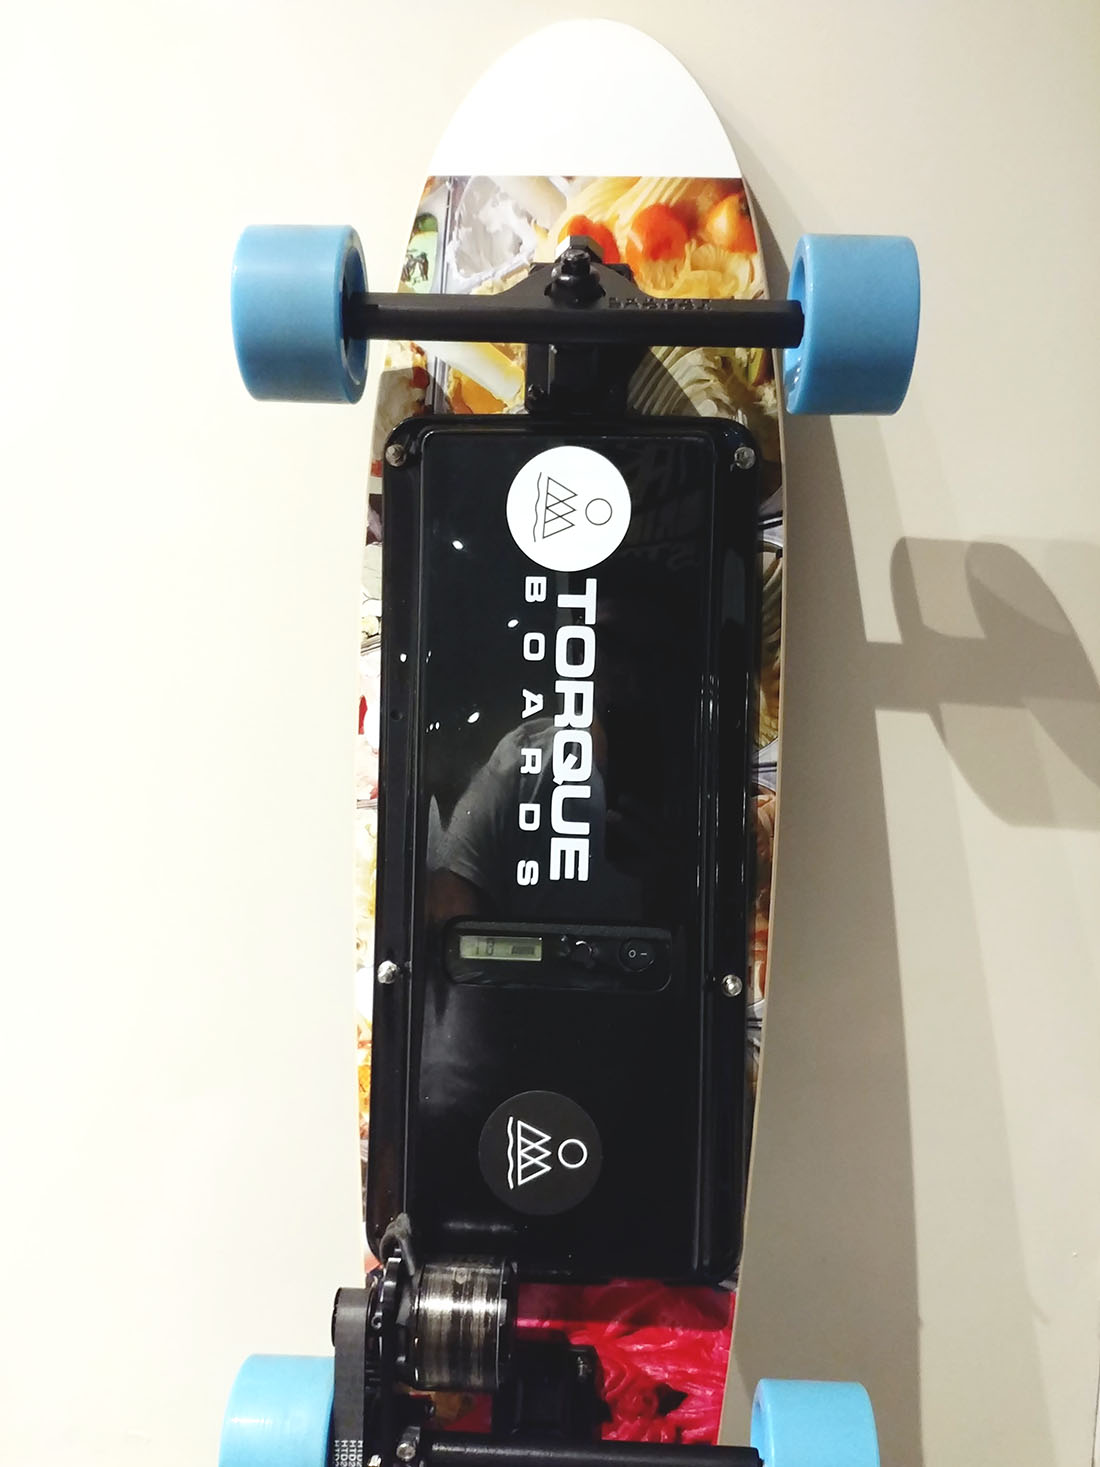
Too bad I didn't realize at the time that the battery and housing assembly for the battery and speed controller would take up most of the board :(.
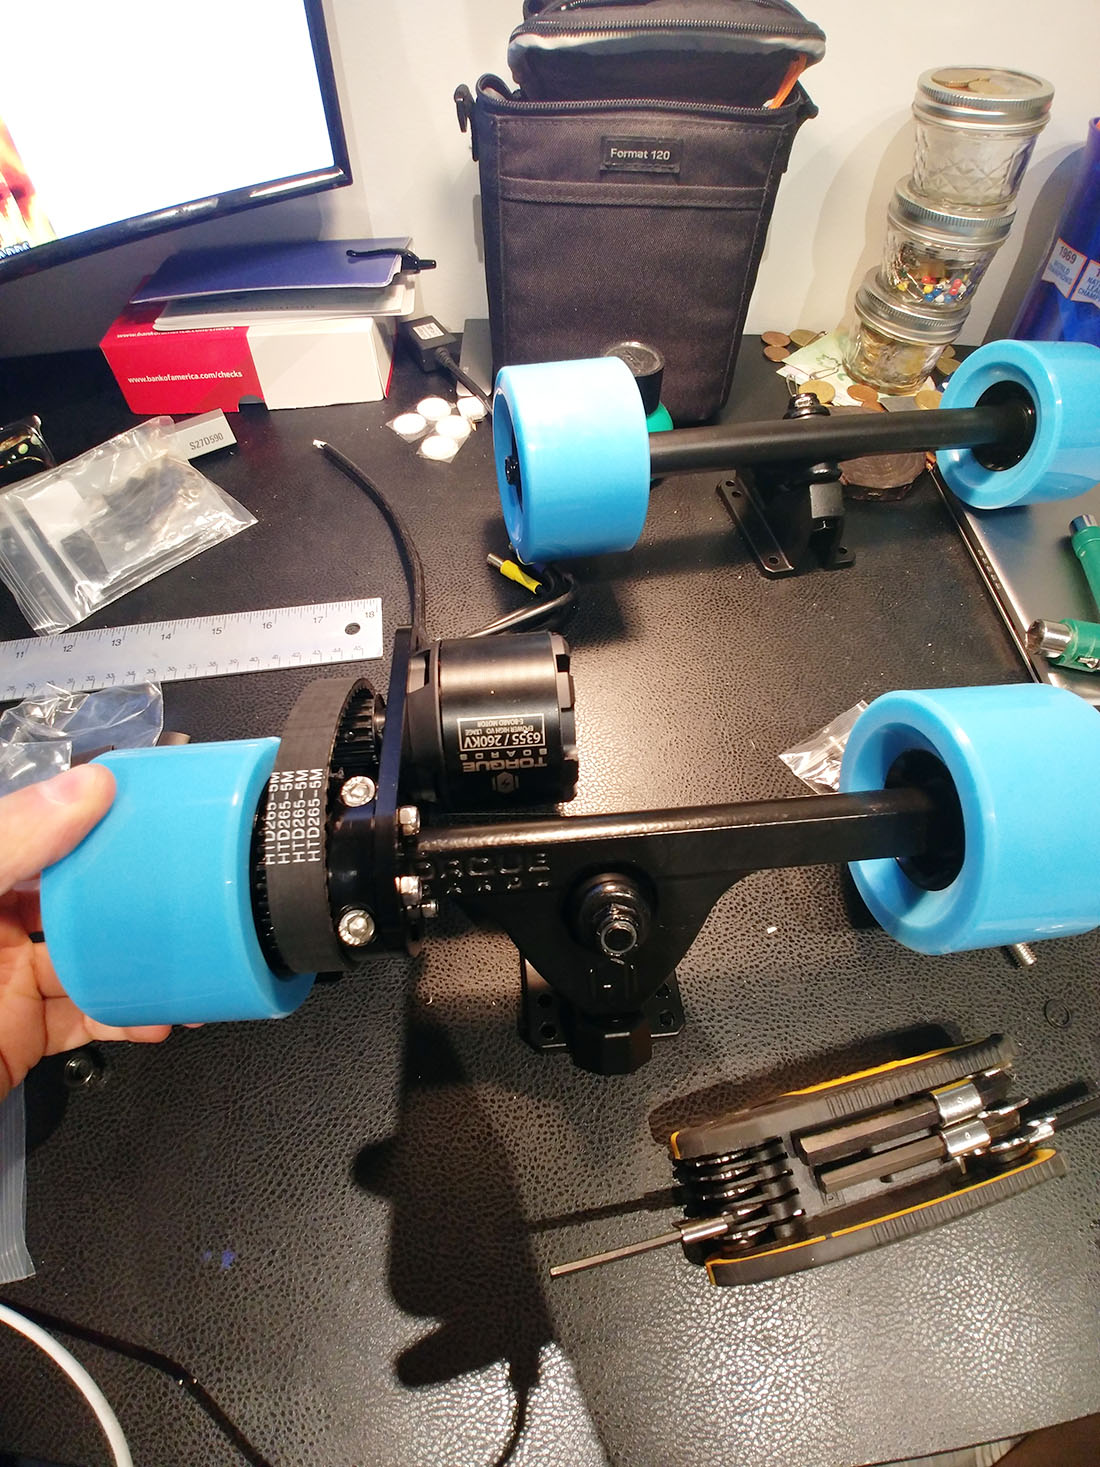
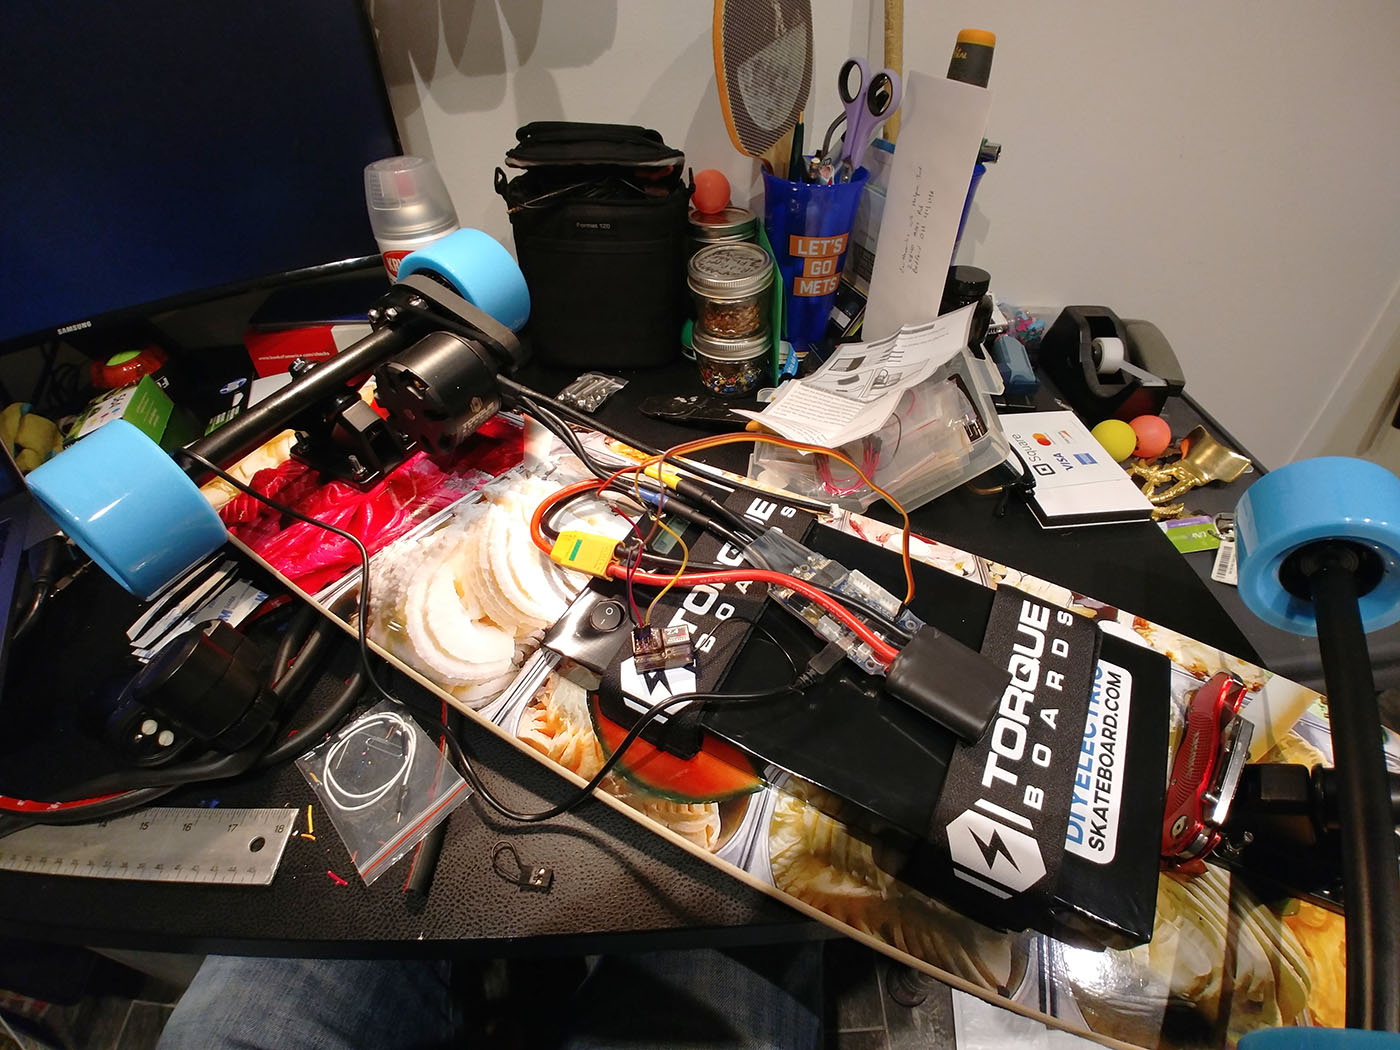
Next, I ordered all the necessary goods from DIYelectricskateboard.com. This includes:
The motor mechanical kit:
✓ Motor Mount Size: 63mm Motor Mount x 1
✓ Wheel Color: 83mm Neon blue x 4
✓ Upgrade to 218mm Trucks: x 2
✓ Upgrade to 15mm Wide Belts: x 1
✓ Electric Skateboard Motor 6355 260KV × 1
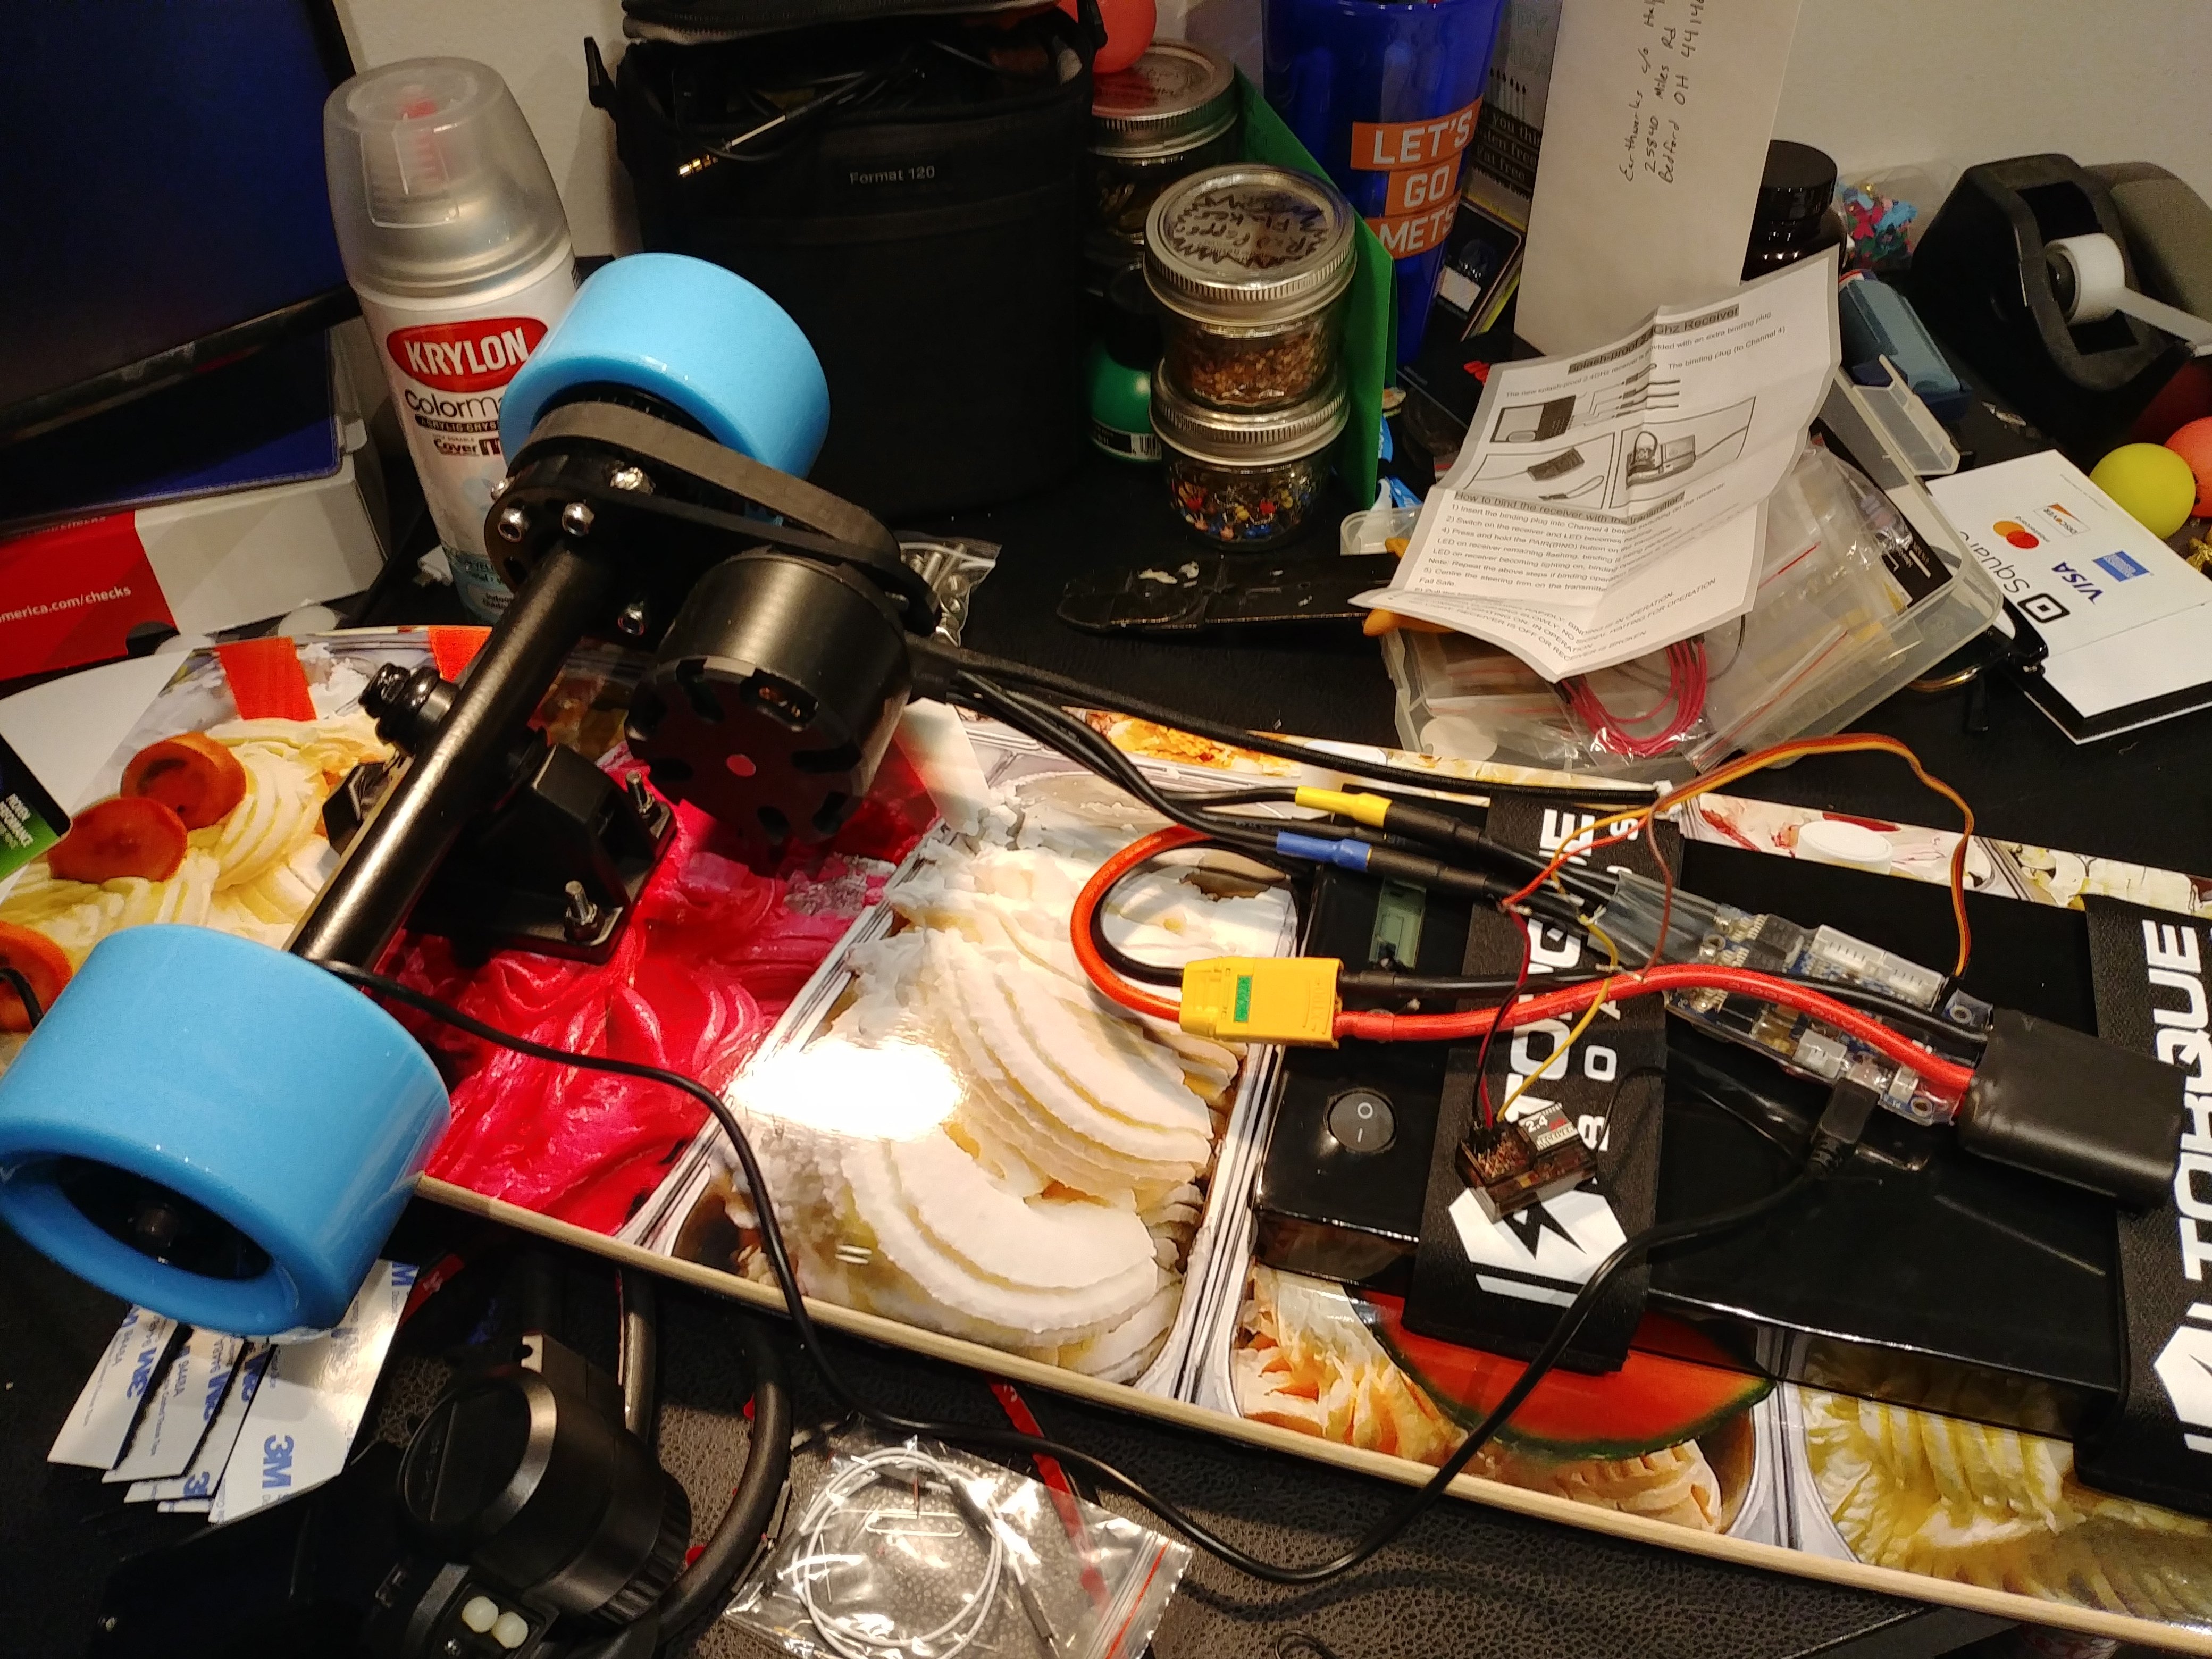
The controller gear:
✓ TorqueBoards 2.4Ghz Mini Remote Controller × 1
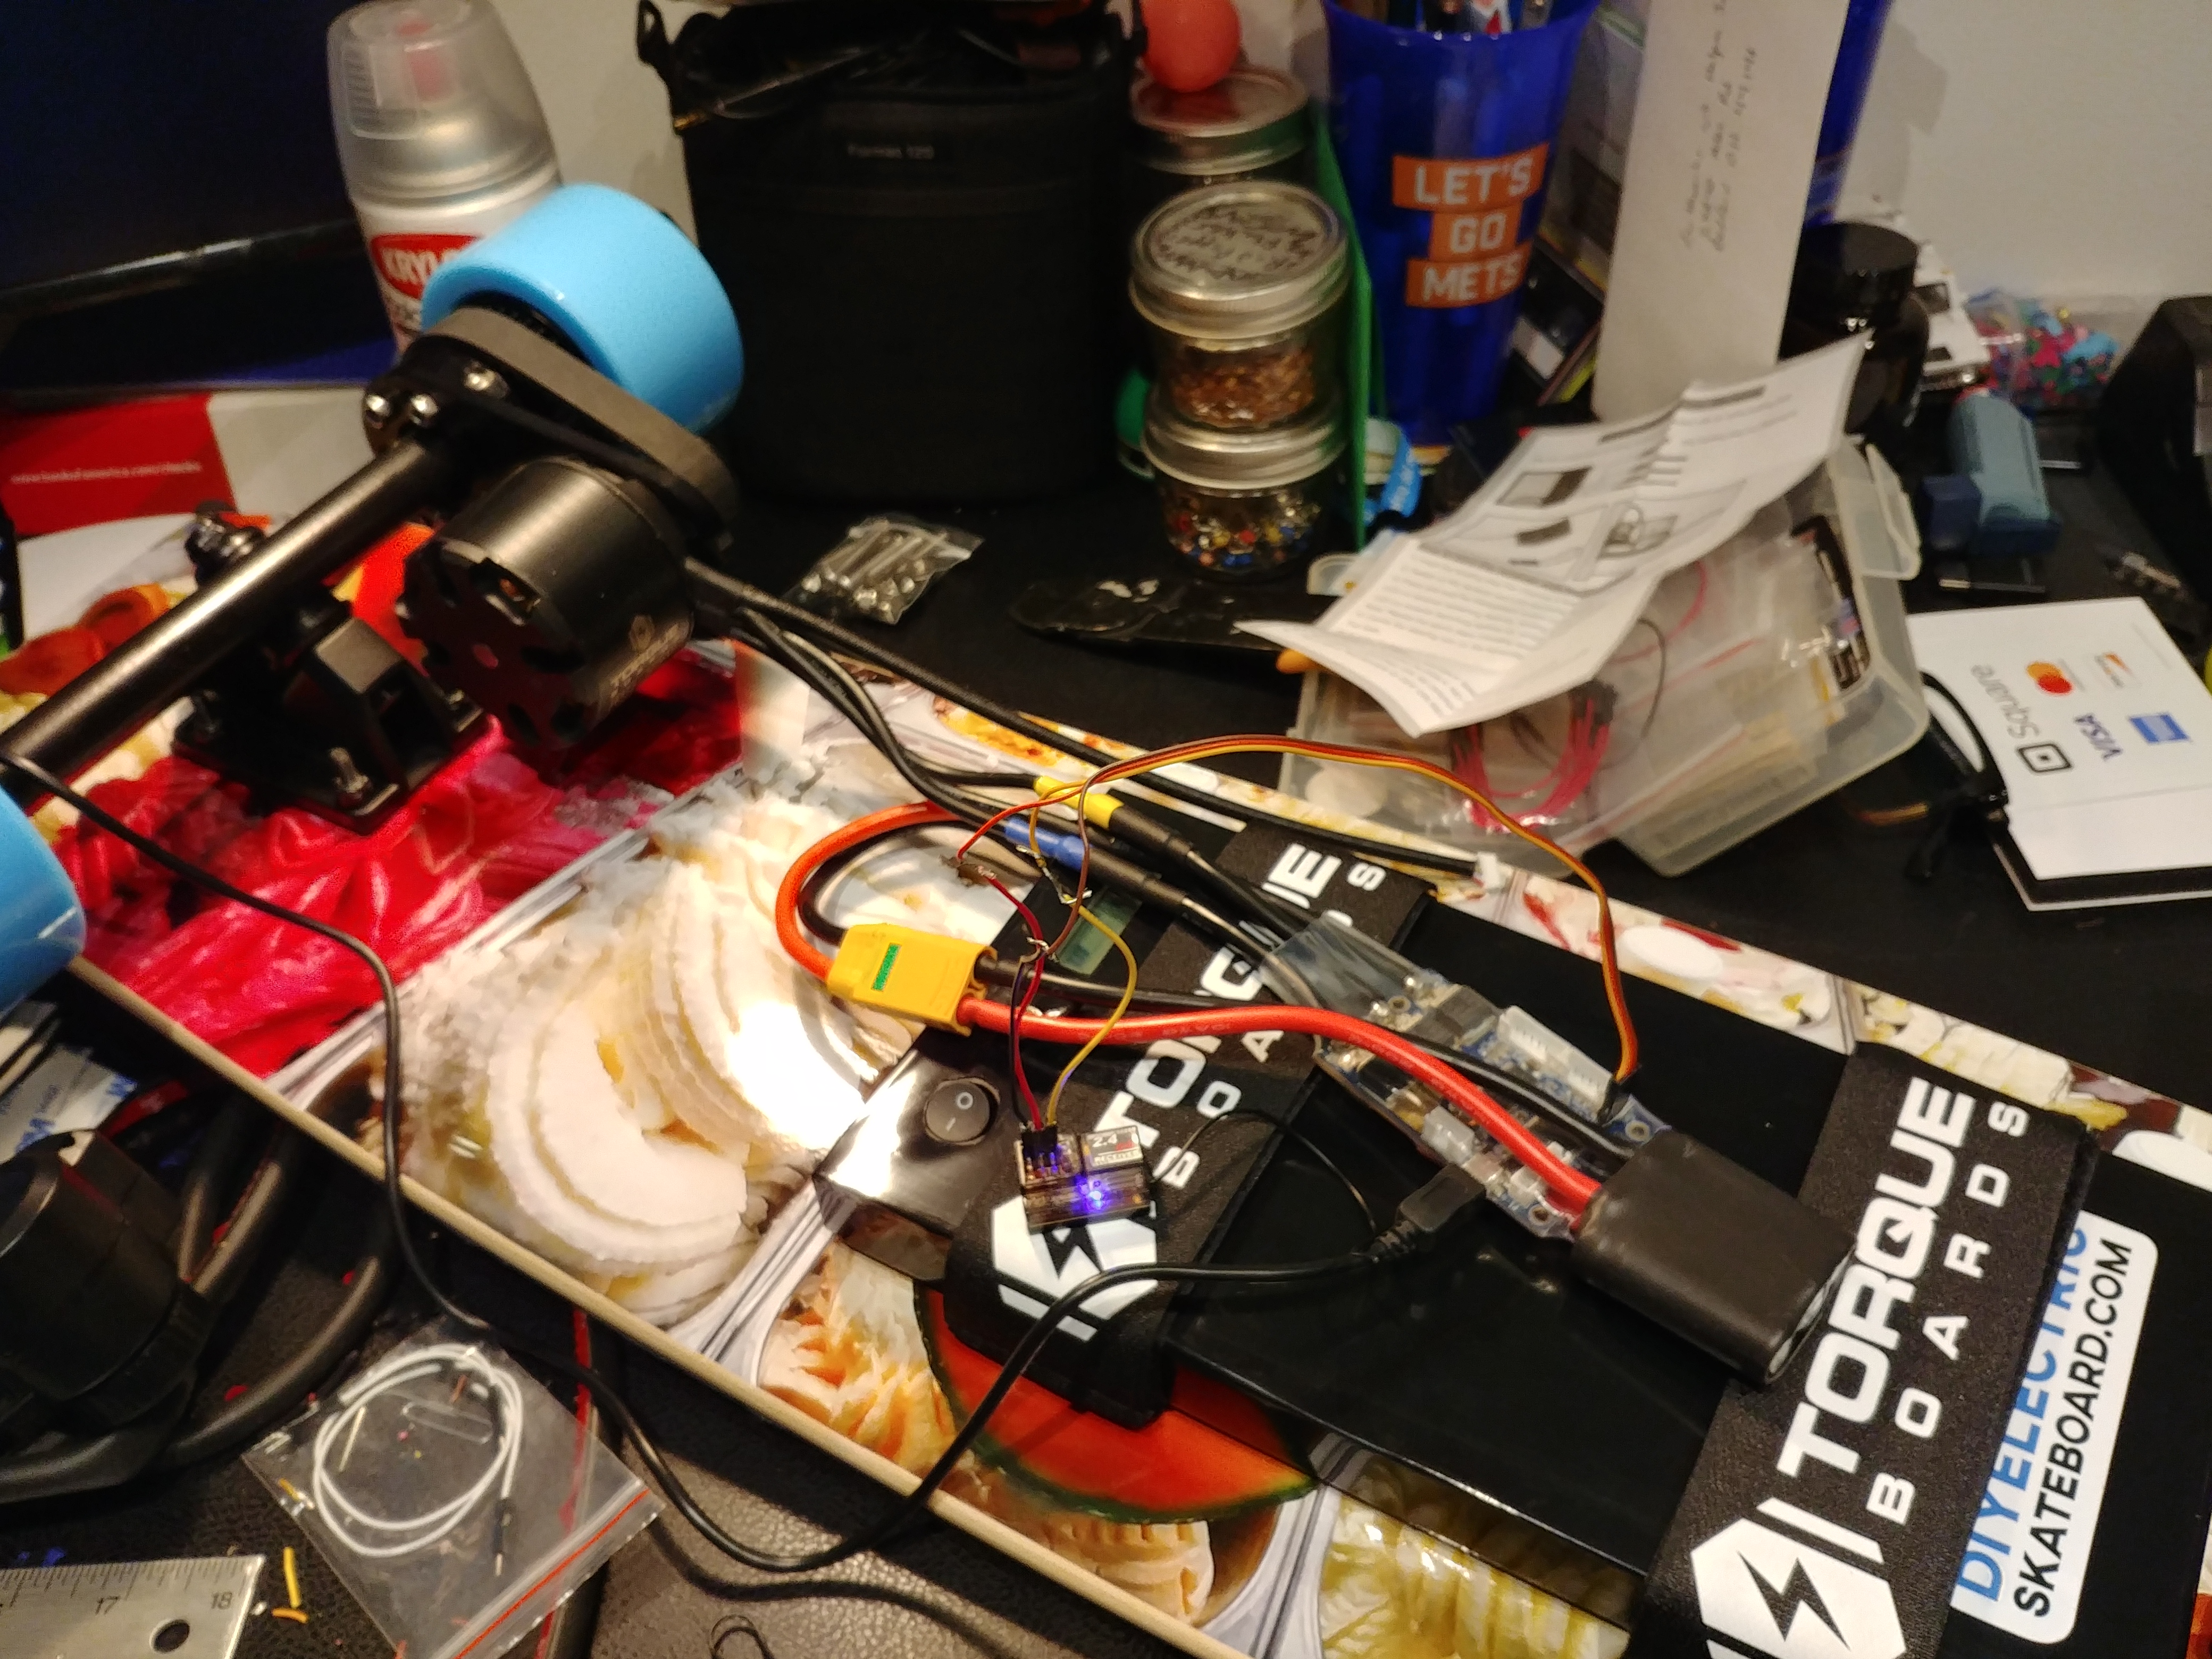
✓ TORQUE ESC BLDC Electronic Speed Controller × 1
...and finally, the battery:
✓ 6S3P Electric Skateboard Battery EPOWER Pack (Samsung 30Q) × 1
Upon receiving all the necessary parts and completing assembly, I could only think to myself "My god, what have I done? Humanity keeps discovering brilliant new ways to destroy itself." So naturally, I immediately put on my Vans and ran out into the street with "Death Wish". Oh, "Death Wish" too dark and foretelling of my eventual doom? Perhaps I should've called it Charles Bronson to be more clever.
No regrats. Well actually, my only regret is not spending a little extra and getting two mechanical motors. The board is frighteningly fast and I can feel Death's cold whisper on my neck each time I hold the controller. However, it would be great to have a little more mmmph when going on inclines.
So let's do a House Hunters-esque wrap up for this post:
Proposed budget: $400
Actual spend: $811.47
Total delta: -$411.47
Actual face I made when I did the calculations a few minutes ago and realized this:

Learnings
∙ When in doubt, double up on motors. "A little more gas in the tank doesn't hurt anyone" (- were his last words.)
∙ If you're worried about how long the battery will last, don't. Messing around for 3-4 hours on it and only dropped down to 80%.
∙ Longboard was a win. Easier for cruising and less fear of dying.
∙ Mounting the battery cover is a must. Your old friend, velcro, won't save your dangling wires for too long.
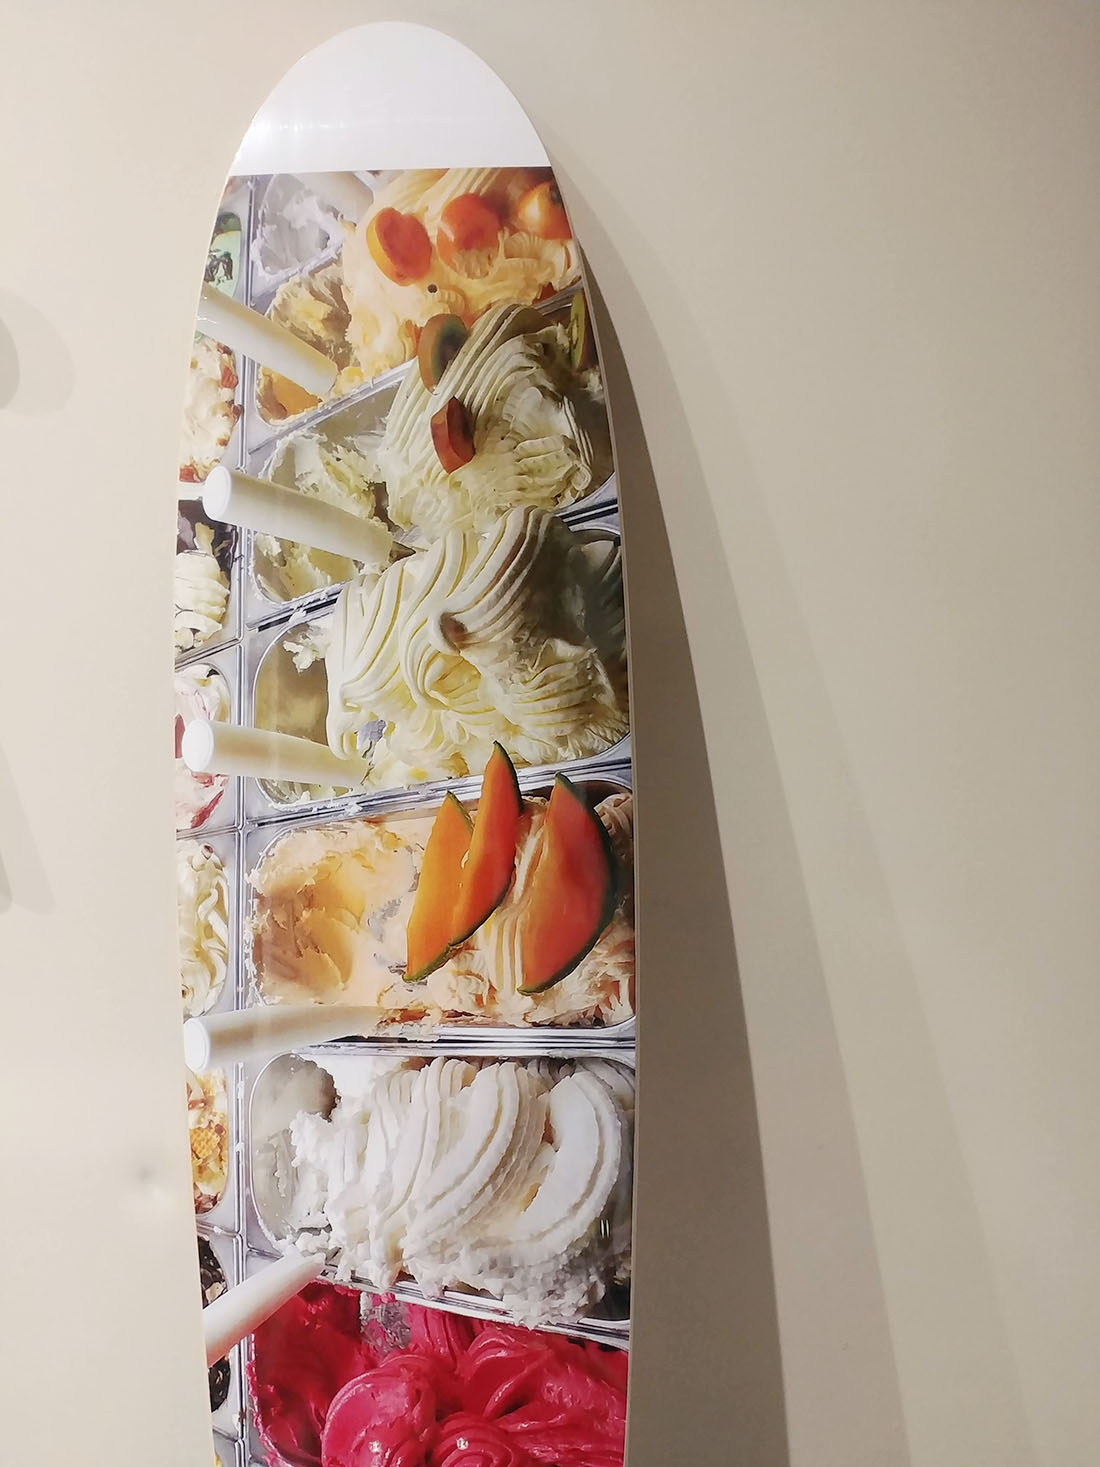
∙ Don't bother too much about using a custom image on your board. No one will see the beautiful ice cream artwork beneath the battery.
∙ Make sure the motor is clear of dangling wires and does not come in contact with any other part of the board or battery. Add additional spacers to the trucks if needed.
∙ Don't read the instructions, because there are none. Watch some YouTube videos instead.
∙ Take your time and wear a helmet.